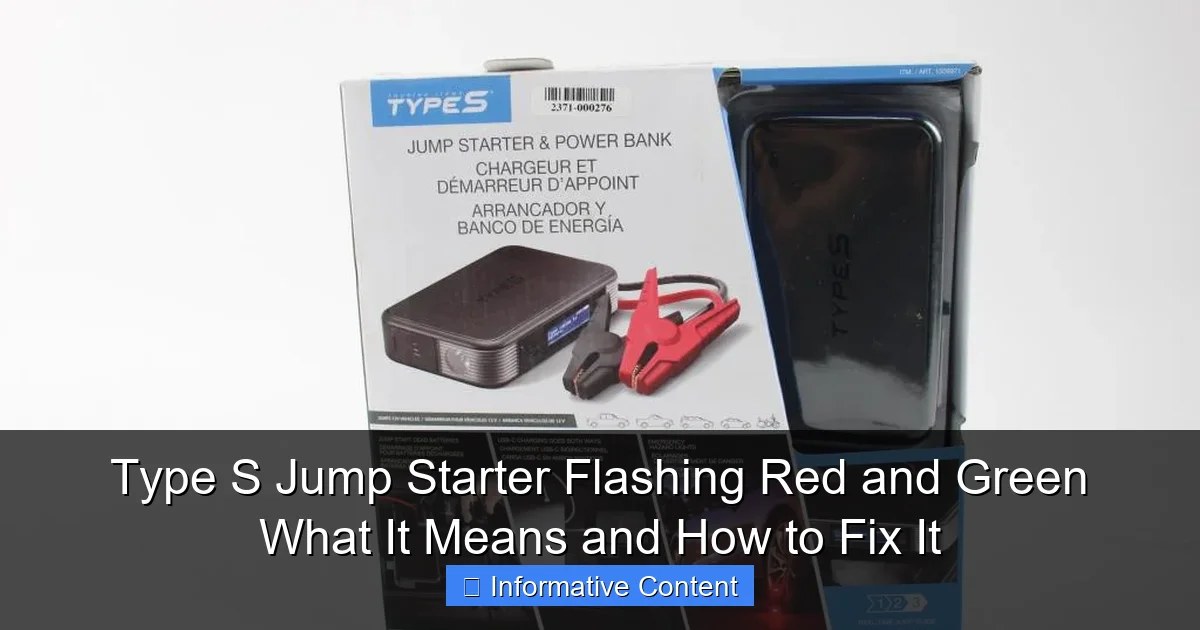
A blinking red light means the jump starter detected a safety problem and blocked power output. Check the charge level, fix the clamp connection, and look up the exact blink code in your manual before replacing anything.
If your portable jump starter blinking red light is the only thing standing between you and a stalled morning commute, the good news is that this warning usually points to a fixable problem rather than a dead unit. The red light is a safety signal, not a random failure, and learning to read it can save you time, money, and a potentially dangerous spark.
Key Takeaways
Read the pattern: Fast blinks usually mean reverse polarity or a short; slow blinks often mean low.
Check the manual: Blink codes vary by brand, and the model number on the case is the.
Safety first: Stop immediately if the unit is hot, swollen, smoking, or smells like burning plastic.
Match the vehicle: Confirm 12V vs. 24V and peak amp ratings before connecting to a diesel or.
Maintain regularly: Recharge every 3–6 months and keep clamps and terminals clean to prevent false alarms.
What a Blinking Red Light on a Portable Jump Starter Actually Means
A blinking red light means the jump starter has detected a condition it refuses to jump-start through. Think of it as an interlock: the unit’s internal controller checks for reversed clamps, low internal voltage, short circuits, and overheating before it allows power to flow. If any check fails, output stays off and the red LED blinks to tell you why.
This is a feature, not a defect. A jump starter that sends power into a reversed connection or a shorted circuit can damage the vehicle’s electronics, the unit itself, or both. The blinking light is the unit doing its job by refusing to do its job.
How to Read the Blink Patterns: Slow, Fast, and Intermittent
Blink patterns are not standardized across brands, so the owner’s manual is the only reliable decoder for your specific model. That said, most manufacturers use variations of the same logic:
Slow, steady blinking often indicates a low internal charge or a unit in standby rather than ready-to-start mode.
Fast, rapid blinking usually signals a protection trigger, most commonly reverse polarity or a short circuit.
Intermittent blinking or a single blink followed by a pause frequently means the clamps are not making solid contact with the battery terminals.
Some premium units use a red light combined with an error code on a small display. If yours has a screen, that code will be far more specific than any LED pattern.
Why the Blink Pattern Matters More Than the Light Color Alone
The color tells you the unit is in a fault state. The pattern tells you which fault. Two very different problems can produce the same red LED, and only the pattern plus the manual can separate them. A fast blink caused by reverse polarity requires a completely different fix than a slow blink caused by a depleted internal battery. Treat the color as the warning and the pattern as the actual message.
The Most Likely Causes Behind the Red Warning Light
A blinking red light on a jump starter typically indicates a connection or safety
Reverse Polarity or Loose Clamp Contact
Reverse polarity is the most common cause of a fast red blink. It means the red clamp is touching the negative terminal or the black clamp is touching the positive terminal. Many modern units also detect a loose connection: if the clamp teeth only grip a fraction of the terminal, the resistance confuses the unit’s voltage sensing and triggers the same protection.
Low Internal Charge or a Failing Internal Battery
Portable jump starters use internal lithium or lead-acid batteries, and they lose charge while sitting in a trunk or glovebox. If the internal voltage drops below the threshold needed to deliver cranking amps, the unit refuses to output power and blinks red instead. Over time, the internal battery can also degrade to the point where it no longer holds a useful charge even after a full recharge.
Over-Temperature, Short-Circuit, and Overcurrent Protection Triggers
Jump starters monitor their own temperature and the current flowing through the clamps. If the unit gets too hot from sitting in direct sunlight, if the clamps touch each other, or if the vehicle tries to draw more current than the unit can safely deliver, the protection circuit shuts down output and blinks red. These triggers are designed to prevent fires and component damage.
How to Troubleshoot the Blinking Red Light Safely
Work through these steps in order. They resolve the large majority of red-light faults without any tools beyond a wire brush and a clean rag.
1
Verify the jump starter’s own charge level first
Check the unit’s charge indicator. If it shows low or empty, plug it into its charger and wait for a full charge before attempting anything else. Many red-light faults are simply a depleted internal battery.
2
Inspect the clamps, cables, and terminals for damage or corrosion
Look for cracked cable insulation, bent or broken clamp teeth, and white or green corrosion on the vehicle’s battery terminals. Any of these can prevent the unit from sensing a valid connection.
3
Re-attach with a clean, firm connection and retry
Clean the battery terminals with a wire brush, then clamp on so the teeth bite into clean metal. Wiggle each clamp slightly to confirm it is locked, then retry the jump start.
4
Reset the unit if your model includes a reset function
Some units have a reset button or require you to disconnect both clamps and hold the power button for several seconds. Check the manual for the exact reset procedure before assuming the unit is dead.
Voltage and Battery Compatibility: Is Your Jump Starter Even the Right Tool?<
A jump starter’s voltage output must match the vehicle battery’s voltage requirement.
/h2>
Vehicle Compatibility
Check: Confirm your vehicle’s electrical system voltage (most cars are 12V; some trucks and heavy equipment are 24V), your engine type and size, and the jump starter’s rated peak amps. Limitations: A 12V jump starter should not be used on a 24V system, and a low-amp unit may trigger its overcurrent protection on a large diesel engine.
12V vs. 24V Systems: What Happens When You Mismatch
Nearly all passenger cars, SUVs, and light trucks use a 12V electrical system. Many commercial trucks, buses, and some heavy equipment use 24V. If you connect a 12V jump starter to a 24V battery, the unit will either trigger its overvoltage protection and blink red or, in a worst-case scenario, suffer internal damage. Check the voltage rating printed on the jump starter and match it to the vehicle before connecting anything.
Gasoline vs. Diesel Engines: Why Peak Amps and Displacement Matter
Diesel engines have much higher compression than gasoline engines, so they need more current to crank. A jump starter rated for a 4-cylinder gasoline car may protect itself and blink red when connected to a large diesel pickup. Before you buy a replacement, it helps to understand how to choose a jump starter by matching peak amps to your engine size and type.
Safe Connection Sequence and the Warning Signs That Mean Stop
The Correct Clamp Order for a Jump Start (and the Correct Removal Order)
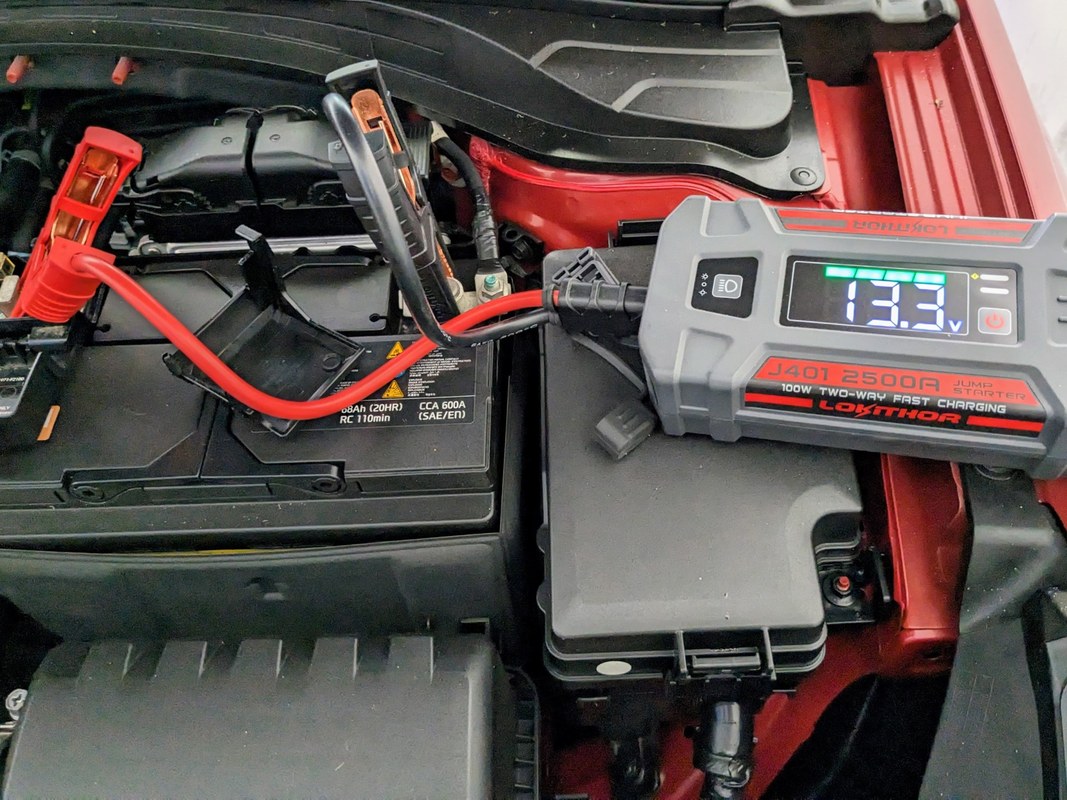
The standard sequence for most vehicles is: connect the red clamp to the positive battery terminal, then connect the black clamp to a clean, unpainted metal ground on the engine block or chassis rather than the battery’s negative terminal. Turn on the jump starter, attempt to start the vehicle, then remove the clamps in reverse order: black first, then red.
This sequence reduces the risk of sparks near the battery, which can ignite hydrogen gas emitted by a charging battery. Some modern vehicles have specific grounding points or electronic battery-management systems, so check the vehicle owner’s manual when in doubt.
Do
Confirm the jump starter’s charge level and voltage rating first
Connect red to positive and black to a grounded metal surface
Remove clamps in reverse order after the engine starts
Read both the jump starter manual and the vehicle manual
Don’t
Don’t connect black to the battery’s negative terminal on vehicles that specify a ground point
Don’t let the two clamps touch each other while connected
Don’t ignore a red light and try to force the connection
Don’t jump-start a vehicle with visible battery damage or leaks
Red Flags: Sparking, Heat, Swelling, or Unusual Odors
Some sparking is normal when you first connect clamps, but heavy, continuous sparking is not. Stop immediately if you see smoke, feel the unit or cables getting hot, notice the case swelling, or smell anything like burning plastic or rotten eggs. These are signs of a serious electrical problem or an internal battery failure.
What the Blinking Red Light Does and Does Not Tell You About Your Car Battery
The Diagnostic Limits of Portable Jump Starters
A jump starter is a power source, not a diagnostic tool. The blinking red light tells you about the jump starter’s own safety checks and the connection between the clamps and the battery. It cannot tell you whether your car battery has a dead cell, low state of charge, sulfation, or an internal short. If you need to maintain a battery over days or weeks rather than start it immediately, a battery charger serves a different purpose than a jump starter.
How to Confirm the Real Problem Is Your Vehicle’s Battery, Not the Unit
If the jump starter works fine on another vehicle but blinks red or fails to start yours, the problem is almost certainly the vehicle battery, the cable connections, or the starter itself. Test the battery with a multimeter: a healthy 12V battery should read about 12.6 volts at rest and should not drop below roughly 10 volts while cranking. If you are unsure, most auto parts stores will test a battery for free, and that test is far more informative than any LED pattern.
Maintenance Habits That Prevent False Alarms and Extend Lifespan
Proper Storage Temperatures and Recharge Intervals
Lithium jump starters prefer cool, dry storage. Extreme heat accelerates battery degradation, and extreme cold temporarily reduces available power. Most manufacturers recommend recharging the unit every three to six months even if you never use it. The chemistry inside your unit affects how it behaves in storage, and the differences between lithium and lead-acid jump starters explain why recharge intervals vary.
Keeping Clamps and Battery Terminals Clean for Reliable Contact
Corrosion on the vehicle’s battery terminals is one of the most common causes of a false red-light fault. Wipe the clamps with a clean cloth after each use, and clean the vehicle terminals with a wire brush whenever you see buildup. A clean, tight connection prevents the voltage-sensing errors that trigger protection mode.
When to Replace Your Jump Starter vs. When to Contact Support
Signs the Unit Has Reached End of Life
If the unit no longer holds a charge, blinks red even after a full recharge and clean connections, or shows physical damage like swelling or cracked casing, it is time to replace it. Internal batteries degrade over time, and no amount of troubleshooting will restore a worn-out cell. If you are shopping for a replacement, owner-reported reliability varies widely by brand, and it is worth reviewing which jump starter brands hold up over years of storage.
Warranty, Manufacturer Support, and Model-Specific Quirks to Know
Before replacing anything, check the warranty. Many jump starters carry one- to three-year warranties, and a unit that fails within that window may be replaced free. Contact manufacturer support with your model number and a description of the blink pattern; they often have model-specific troubleshooting steps that do not appear in the printed manual. Keep your purchase receipt and register the product if the manufacturer offers it.
The Bottom Line: Your Action Plan When the Red Light Blinks
Quick Decision Guide: Fix It, Recharge It, or Replace It
When the red light blinks, run this quick mental checklist. If the unit’s own charge is low, recharge it. If the clamps are reversed or loose, fix the connection. If the unit is hot, let it cool down. If the unit blinks red after a full charge, clean connections, and a correct connection sequence, the internal battery has likely failed and it is time to replace the unit.
When to Call a Professional Instead of Attempting a Jump Start
Call a professional if the vehicle battery is visibly damaged, if the engine cranks slowly but never starts, if you hear clicking with no crank, or if the jump starter itself shows signs of swelling or overheating. A jump start gets a dead battery turning over; it does not fix a failed alternator, a seized starter, or a damaged battery. If the vehicle does not start after a successful jump, the problem is beyond what a jump starter can solve.
Final Verdict
Best for: Drivers who want a clear, safe answer when a jump starter refuses to work, and who want to avoid replacing a unit that only needs a recharge or a better connection.
Think twice if: The unit shows physical damage, swelling, or repeated red-light faults after a full charge; those are signs of internal battery failure, not a fixable connection issue.
Next step: Locate your jump starter’s model number, look up the exact blink code in the manual, and check the unit’s charge level before your next jump-start attempt.
Frequently Asked Questions
The most common reasons are reversed clamps, a loose connection, a low internal charge, or a protection trigger such as a short circuit or over-temperature condition. Check the owner’s manual for the exact blink code for your model.
No. The red light means the unit has blocked power output for a safety reason. Attempting to force a start can damage the unit or the vehicle’s electronics. Fix the underlying cause first.
Disconnect both clamps, wait a few minutes, and check the charge level. Some models have a reset button or require holding the power button for several seconds. Consult your manual for the exact procedure.
Most manufacturers recommend recharging every three to six months. Lithium units lose charge while sitting, and a depleted internal battery can trigger a red-light fault when you need it most.
The vehicle may have a different system voltage, a larger engine that draws more current, or a battery with different terminal conditions. A unit that works on a small gasoline car may trigger protection on a diesel truck.
Not directly. The red light reflects the jump starter’s own safety checks and the connection to the battery. A deeply discharged vehicle battery can cause the unit to behave oddly, but the red light does not diagnose the battery itself.
Hi, I'm Ethan Carter, and I've spent over a decade testing automotive electronics, dash cams, and interior accessories. I created TopBestCar.com to help car owners cut through marketing hype and find gear that actually performs for their exact make and model — backed by hands-on testing, spec comparisons, and real owner feedback.