Jump starter clamps get hot when resistance or excessive current flow turns electrical energy into heat at the connection point. Fix the connection, clean the terminals, and match the unit to your vehicle to jump start safely.
If your jump starter clamps get hot during a jump start, the cause is almost always excessive electrical resistance or a battery that is pulling more current than the unit can comfortably deliver. Heat follows predictable rules of electricity, and once you understand those rules you can fix the problem safely and prevent it from returning. This guide explains why clamps heat up, how to tell normal warmth from dangerous heat, and the exact steps to resolve it.
Key Takeaways
Heat cause: Poor contact, corrosion, or undersized cables create resistance that heats up clamps.
Danger signs: Smoke, melting plastic, or a burning smell means stop and disconnect immediately.
Fix first: Clean terminals and reseat clamps before blaming the jump starter.
Match the unit: Confirm voltage and output rating match your vehicle’s system.
Know when to stop: A shorted battery can keep overheating clamps no matter what you do.
Why Your Jump Starter Clamps Get Hot: The Short Answer
Heat Is a Symptom of Resistance and Current Flow
Every electrical connection has some resistance, and resistance converts electrical energy into heat. The relationship is straightforward: heat increases sharply as current flow rises. Jump starter clamps are the smallest, most exposed contact points in the entire circuit, so they are the first place heat becomes noticeable. When a clamp only touches a fraction of the terminal surface, that tiny contact area creates a bottleneck where heat concentrates.
When Warm Is Normal and When It Signals a Problem
During a cranking attempt, a battery can pull hundreds of amps for a few seconds. It is normal for clamps to feel noticeably warm after that burst, especially if the battery is deeply discharged. Normal warmth fades quickly once cranking stops. If the heat keeps building, feels hot to the touch, or is accompanied by smoke or a burnt smell, the connection is the problem — and continuing is dangerous.
The Real Culprits Behind Overheating Clamps
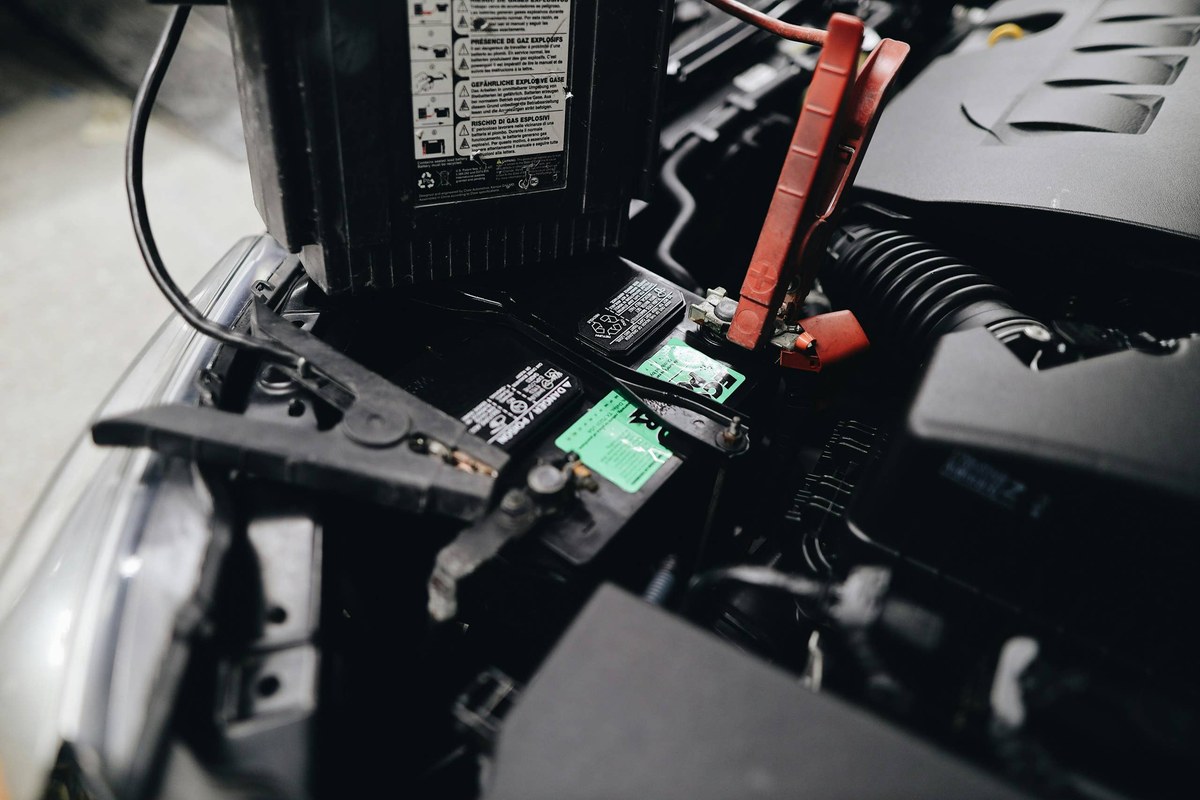
Corrosion and loose connections cause resistance, leading to heat buildup in clamps.
Poor Clamp-to-Terminal Contact and Loose Grips
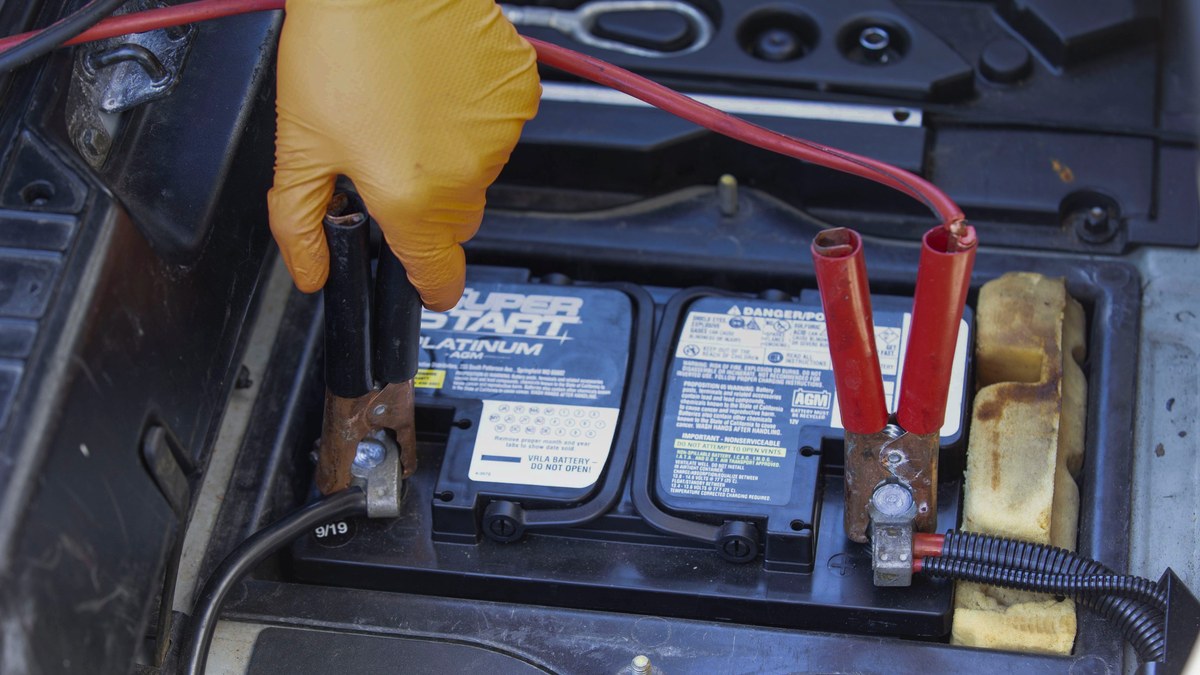
A clamp attached to the wrong spot — a bracket, a bolt, or a cable end — creates a high-resistance connection. The same is true if the clamp’s jaws do not fully seat around the terminal. Loose grips allow the clamp to shift, breaking contact and causing arcing. Arcing generates intense localized heat that can melt the clamp or the battery post.
Corroded or Dirty Battery Terminals
White or green crust on a battery terminal is a classic cause of hot clamps. Corrosion acts as both an insulator and a resistor. Current has to push through that crust, and the resistance turns energy into heat right where the clamp meets the terminal. A quick visual inspection before connecting can catch this in seconds.
Undersized Cables and Weak Clamp Spring Tension
Some budget jump starters use thin cables and lightweight clamps to save money. Thin cables have higher resistance, and weak springs cannot hold the clamp firmly against the terminal. Both flaws create the same result: more heat at the connection point. If the clamps feel flimsy or the cables are noticeably thin, the unit may not be up to the task.
A Severely Depleted Battery Drawing Maximum Current
A battery sitting at 10 volts or below will pull maximum current from the jump starter for much longer than a battery that still has some charge. That extended high-current flow heats up the entire circuit, including the clamps. This is not necessarily a defect, but it is a sign that the battery may need more than a jump start.
Reversed Polarity and Short-Circuit Conditions
Connecting the clamps backward or touching the two clamps together creates a short circuit. Current flows without any meaningful load, and the clamps can become red-hot in seconds. Modern smart units detect this and shut down, but manual units may not. If you see sparks, smoke, or melting, disconnect immediately — do not wait.
How Hot Is Too Hot? Recognizing the Danger Zone
Normal Warmth vs. Dangerous Heat: What to Feel For
After a cranking attempt, the clamps should feel warm but not painful to hold. You should be able to grip a clamp firmly for several seconds without discomfort. If the clamp is too hot to hold or the heat radiates into the cable insulation, the connection is failing.
Warning Signs: Melting Plastic, Smoke, and Discoloration
Melting plastic around the clamp handle, smoke rising from the connection, or discoloration on the metal jaws are all signs of serious overheating. These symptoms mean the heat has already damaged the clamp or cable. Do not continue cranking in this condition.
When to Stop and Disconnect Immediately
Stop the moment you notice any of these signs. Disconnect the clamps in reverse order — negative first, then positive — and move the jump starter away from the battery. Let the system cool for at least 15 minutes before inspecting. If the battery is leaking, swollen, or hissing, do not touch it. Call a professional.
How to Fix Hot Clamps: A Step-by-Step Guide<
Inspect the clamps for corrosion or loose connections before reconnecting.
/h2>
Step 1: Clean the Battery Terminals Thoroughly
Use a wire brush or terminal cleaning tool to remove corrosion from the battery post and the inside of the clamp jaws. A baking soda and water solution neutralizes acid residue. Wipe everything dry before reconnecting.
Step 2: Position the Clamps for Maximum Contact Area
Open the clamp fully and seat it so the jaws wrap around as much of the terminal as possible. Rock the clamp gently to confirm it is seated, then release. Tug on the clamp — if it moves, reposition it. The connection should be solid enough that the clamp cannot shift during cranking.
Step 3: Verify the Jump Starter’s Output Rating and Battery Health
Check that the jump starter is rated for your vehicle’s engine size and voltage. A unit rated for 400 peak amps may struggle on a large V8, which means longer cranking and more heat. If the battery is old or damaged, the jump starter may not help at all. Understanding how many amps your vehicle needs can prevent this mismatch.
Step 4: Limit Cranking Attempts and Allow Cooldown Time
Most manufacturers recommend cranking for no more than five seconds at a time, with a 30-second or longer pause between attempts. If the engine does not start after two or three attempts, stop. The battery, not the jump starter, is likely the problem.
Voltage and System Compatibility: Avoid the Mismatch Trap
12V vs. 24V Systems and What Happens When They Clash
Most cars, trucks, and SUVs in the US use 12-volt electrical systems. Some diesel trucks and commercial vehicles use 24 volts. Connecting a 12V jump starter to a 24V system can overload the unit and cause severe overheating. Check your vehicle owner’s manual before connecting anything.
Vehicle Compatibility
Check: Verify your vehicle’s electrical system voltage (12V or 24V) and the jump starter’s rated output before connecting. Limitations: Many compact jump starters are not rated for 24V systems or large diesel engines; confirm the manufacturer’s stated limits.
Smart vs. Manual Jump Starters: Built-In Protections Explained
Smart jump starters include reverse polarity protection, overcurrent protection, and thermal sensors that shut the unit down before the clamps overheat. Manual units lack these safeguards and rely entirely on the user. If you regularly jump start vehicles in poor conditions, a smart unit is worth the extra cost.
Lithium vs. Lead-Acid Units: Current Delivery and Heat Profiles
Lithium jump starters deliver high current from a compact battery and tend to run cooler during short cranking bursts. Lead-acid units are heavier but can sustain current for longer periods. Both can overheat if the connection is poor. The choice between lithium versus lead-acid jump starters affects weight, storage, and how the unit behaves under load.
Battery Condition: Why a Bad Battery Makes Clamps Hot (and When to Stop)
Diagnostic Limits: A Dead Battery vs. a Shorted Cell
A dead battery simply lacks charge and will accept current from a jump starter normally. A battery with a shorted cell behaves differently — it acts like a load that keeps drawing current even after the engine starts. This is why some batteries cause clamps to stay hot long after cranking.
Why a Faulty Battery Keeps Drawing Power and Overheating Clamps
A shorted cell creates an internal path for current that bypasses normal charging. The jump starter keeps trying to push current through that path, and the resistance generates heat at the clamps. No amount of repositioning will fix this. The battery needs replacement.
When Jump Starting Won’t Help and You Should Stop Trying
If the engine does not crank after several attempts, the battery is not the only issue. The starter motor, alternator, or wiring could be faulty. Continuing to crank with hot clamps risks damaging the jump starter and the vehicle. Stop and call a qualified mechanic.
Maintenance Tips to Prevent Hot Clamps in the Long Run
Cleaning and Inspecting Clamps After Every Use
After each jump start, wipe the clamp jaws with a dry cloth to remove acid residue and dirt. Inspect the jaws for pitting, discoloration, or bent teeth. A clamp that no longer grips firmly should be replaced.
Proper Storage and Charging Habits for Your Jump Starter
Store the jump starter in a cool, dry place. Extreme heat degrades lithium batteries and can warp plastic clamps. Recharge the unit every few months if it is not used regularly. A jump starter with a dead internal battery cannot deliver current, which forces the clamps to work harder.
Replacing Worn Cables and Clamps Before They Fail
Cables and clamps are wear items. If the cable insulation is cracked, the copper strands are visible, or the clamp spring is weak, replace the unit or the accessory cable. Waiting until failure turns a minor repair into a roadside emergency.
When to Replace Your Jump Starter (and What to Buy Next)
Signs of Permanent Damage: Melted Clamps, Brittle Cables, Burnt Smells
If the clamps have melted, the cable insulation is brittle, or the unit emits a burnt smell even when off, the jump starter is permanently damaged. Do not attempt to repair it. Replace it before it becomes a fire hazard in your trunk.
What to Look For in a Replacement: Cable Gauge, Clamp Quality, and Safety Features
When shopping for a replacement, look for thick copper cables (lower gauge numbers are thicker), clamps with strong springs and wide jaws, and built-in protections like reverse polarity alerts. A structured approach to choosing a jump starter will help you match the unit to your vehicle.
Ownership Cost, Warranty, and Support Considerations
Jump starters range from budget models under $50 to premium units over $200. Consider the warranty length and the manufacturer’s reputation. A unit with a longer warranty and responsive support costs more upfront but can save money over time. Checking which jump starter brands have the strongest reliability track record is a smart first step.
The Bottom Line: Safe Jump Starting Starts with Good Connections
Key Takeaways for Protecting Your Battery, Your Jump Starter, and Yourself
Hot clamps are almost always a connection problem, not a jump starter defect. Clean terminals, solid clamp placement, and matching the unit to the vehicle solve most cases. Heat that does not stop after a cranking attempt is a warning sign, not something to push through.
Your Next Steps: Inspect, Fix, and Jump with Confidence
Before your next jump start, inspect your clamps and terminals. Clean any corrosion, confirm the clamps grip firmly, and verify your jump starter is charged and rated for your vehicle. These simple checks take two minutes and prevent the most common overheating scenarios.
Final Verdict
Best for: Drivers who want to understand and fix overheating clamps without replacing a good jump starter.
Think twice if: The clamps are already melted or the battery is known to be failing — those need replacement, not repair.
Next step: Clean your battery terminals and test the clamp grip before your next jump start.
Frequently Asked Questions
Yes, brief warmth during a cranking attempt is normal, especially when the battery is deeply discharged. The warmth should fade quickly once cranking stops. If the clamps keep heating up or become painful to touch, the connection is faulty.
Overheating is caused by high electrical resistance at the connection point or excessive current flow. Common causes include corroded terminals, loose clamps, undersized cables, a severely depleted battery, or reversed polarity.
Yes. Corrosion acts as an insulator and a resistor, forcing current through a poor connection. That resistance converts electrical energy into heat right at the clamp-to-terminal contact point. Cleaning the terminals usually resolves the issue.
Clean the battery terminals, position the clamps so they wrap around the full terminal surface, confirm the jump starter is rated for your vehicle, and limit cranking attempts to five seconds with cooldown pauses between tries.
Replace the jump starter if the clamps are melted, the cable insulation is cracked or brittle, or the unit emits a burnt smell even when powered off. These signs indicate permanent internal damage that cannot be safely repaired.
Yes. A battery with a shorted cell acts like a load that keeps drawing current, which keeps the clamps hot long after cranking. If the clamps heat up with no cranking activity, disconnect immediately and have the battery tested.
Hi, I'm Ethan Carter, and I've spent over a decade testing automotive electronics, dash cams, and interior accessories. I created TopBestCar.com to help car owners cut through marketing hype and find gear that actually performs for their exact make and model — backed by hands-on testing, spec comparisons, and real owner feedback.