A blue backup camera screen means the display isn’t receiving a video signal, not that the camera is necessarily dead. Check power, ground, the video cable, and the head unit input in that order before replacing any parts.
If you’re dealing with a backup camera blue screen no signal when in reverse, the display isn’t telling you the camera is dead — it’s telling you the video feed never arrived. Most blue-screen failures trace back to a predictable set of power, ground, wiring, or input-selection problems that you can diagnose in order, and in many cases the fix costs nothing more than a clean connection and a few minutes of your time.
Key Takeaways
Blue screen meaning: The head unit is waiting for video but receiving nothing, so the fault is.
Diagnose first: Test power and ground at the camera connector with a multimeter before buying a.
Wiring check: Inspect the tailgate hinge boot and harness for corrosion, water intrusion, or chafed wires.
Head unit setting: Confirm the correct camera input is selected, especially after a radio reset or replacement.
Safety stop: If the fault is inside a body harness or head unit, call a professional.
Quick Answer: Why Your Backup Camera Shows a Blue Screen and How to Fix It
A blue screen with a “no signal” message is a display-side status, not a camera diagnosis. The head unit knows reverse gear is engaged and is waiting for video, but it isn’t receiving a usable signal from the camera. That means the failure is somewhere in the chain between the camera’s power, ground, video cable, connector, or the head unit’s input setting.
The Blue Screen Means “No Signal” — Not a Dead Camera
Camera sensors do fail, but a camera that has lost power or video output produces the same blue screen as a camera with a corroded connector. The camera itself is only one of several possible failure points along the signal path. Treat the blue screen as a symptom of a broken connection, not as proof that the camera needs replacing.
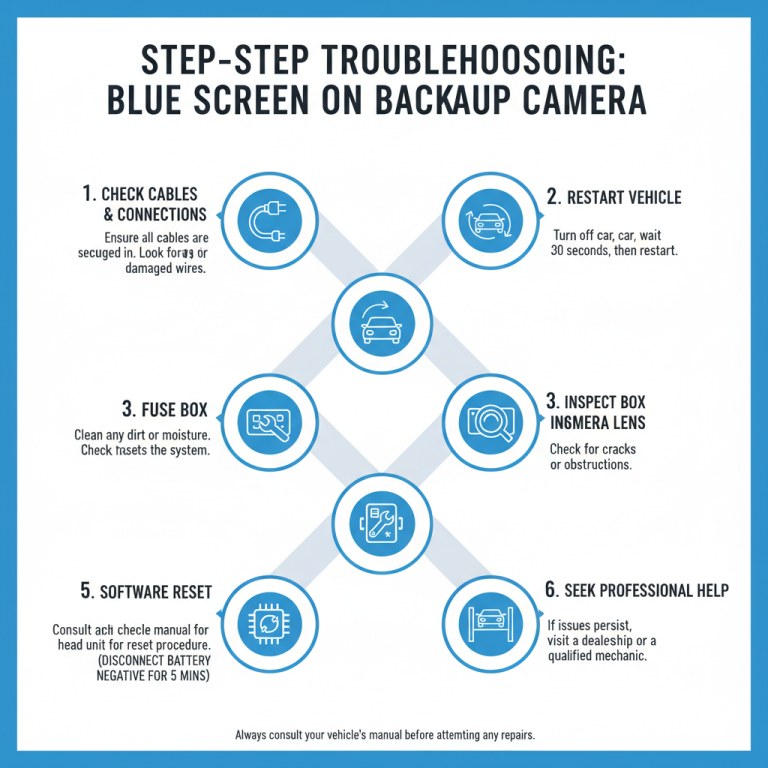
The Fastest 3-Step Check Before You Buy Anything
Step 1: Shift into reverse with the engine running and check whether the image returns after a few seconds. Some factory systems intentionally delay the camera feed briefly after startup.
Step 2: Inspect the visible connectors at the tailgate hinge, bumper, and under the dash for corrosion, loose fit, or water intrusion.
Step 3: Open the head unit’s camera input menu and confirm the correct source is selected, especially if the radio was recently replaced or reset.
How the Backup Camera Signal Path Works (and Where It Breaks)
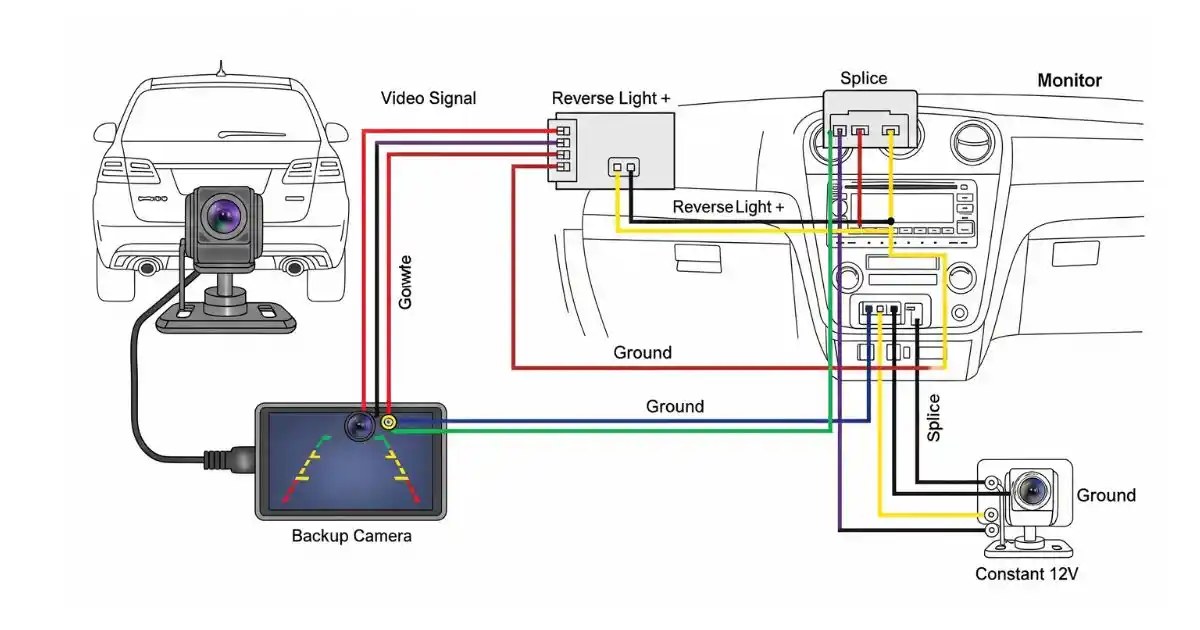
Backup camera signal flows from camera through wiring to the display; breaks cause blue
From Reverse Light Trigger to Display: The Full Signal Chain
The reverse light circuit supplies power when the shifter is in reverse. That power feeds the camera, the camera sends a composite or LVDS video signal through a dedicated cable, and the head unit switches the display to the rear-camera input. A break at any link in that chain produces the same blue screen. Understanding this chain helps you diagnose in order instead of guessing. If you want a more detailed breakdown of each component, our guide on how rear view cameras work explains the difference between trigger signals, video formats, and display switching.
Why Intermittent Blue Screens Point to Wiring, Not the Camera
If the camera works sometimes and shows blue other times, the fault is almost certainly an intermittent connection. Corroded pins, a loose ground, or a wire that flexes every time the tailgate opens can break contact only under vibration. A camera sensor either works or it doesn’t — it rarely flickers on and off by itself. Intermittent behavior is your strongest clue that the problem lives in the wiring, not the lens.
Diagnostic Step 1: Check Power and Ground at the Camera
Testing the Reverse Light Circuit with a Multimeter
Set your multimeter to DC volts, put the vehicle in reverse with the ignition on, and probe the camera’s power and ground wires at the camera connector. Many factory cameras receive power only in reverse, so the connector stays dead until the shifter is in gear. If you see battery voltage where you expect it, power is fine. If you see nothing, trace back toward the reverse light circuit or the fuse box.
Voltage Drop and Bad Grounds: The Silent Killers
Full battery voltage at the connector isn’t the whole story. A poor ground connection can show 12V at the source but far less at the camera when the circuit is under load. Test voltage with the camera plugged in and running, not just with the connector unplugged. A reading well below battery voltage under load points to a corroded ground or a damaged power wire. Clean the ground point and retest before you consider replacing anything.
Recommended Tools
Digital multimeterTrim panel removal kitDielectric greaseElectrical contact cleaner
Diagnostic Step 2: Inspect the Video Cable and Connectors<
Checking the video cable and connectors reveals loose or damaged wiring.
/h2>
Corrosion and Water Intrusion at the Tailgate Hinge
The tailgate hinge is the most common failure point on factory cameras. Every open and close flexes the wiring harness, and the rubber boot traps moisture. Pull the boot back and look for green corrosion on pins, cracked insulation, or a broken wire. Clean the connector with contact cleaner, apply dielectric grease, and re-seat it before moving on to the next step.
Pinched, Chafed, or Broken Wires in the Factory Harness
Follow the video cable along its full route from the camera to the head unit. Look for pinch points where the wire passes through grommets, around hinges, or under the bumper cover. A wire that looks intact from the outside can still be broken internally after years of flexing. Gently flex the harness while the system is live and watch the display — if the image flickers, you’ve likely found the break.
Diagnostic Step 3: Verify the Head Unit and Display Input Source
Checking the Camera Input Setting on Factory and Aftermarket Radios
Factory radios usually switch automatically, but aftermarket units often require a camera input to be enabled in the settings menu. If the radio was recently installed, updated, or reset, the camera input may have defaulted to off. Check the settings menu for a rear camera, backup camera, or AV input option and confirm it’s set to the port the camera is actually connected to. If the system has simply stopped responding, our guide on how to reset a rear view camera walks through the safe reset sequence for common factory and aftermarket units.
How a Faulty Reverse Signal Can Lock the Display on Blue
Many head units switch to the camera input when they receive a 12V reverse trigger signal. If that trigger wire is shorted or stuck on, the display may lock onto the camera input even when the camera isn’t powered — producing a permanent blue screen. Check the reverse trigger wire at the head unit harness and confirm it only shows 12V when the shifter is actually in reverse.
Diagnostic Step 4: Test the Camera Itself — and Know Its Limits
Bypassing the Camera to Isolate the Fault
If power, ground, wiring, and the head unit all check out, the camera is the remaining suspect. The cleanest test is to bypass the original camera with a known-good camera or test signal. If you have an aftermarket camera, plug it into the same cable at the head unit end. If the display shows an image, the original camera is the problem. If not, the cable or head unit still is.
Field of View, Calibration, and What a Replacement Must Match
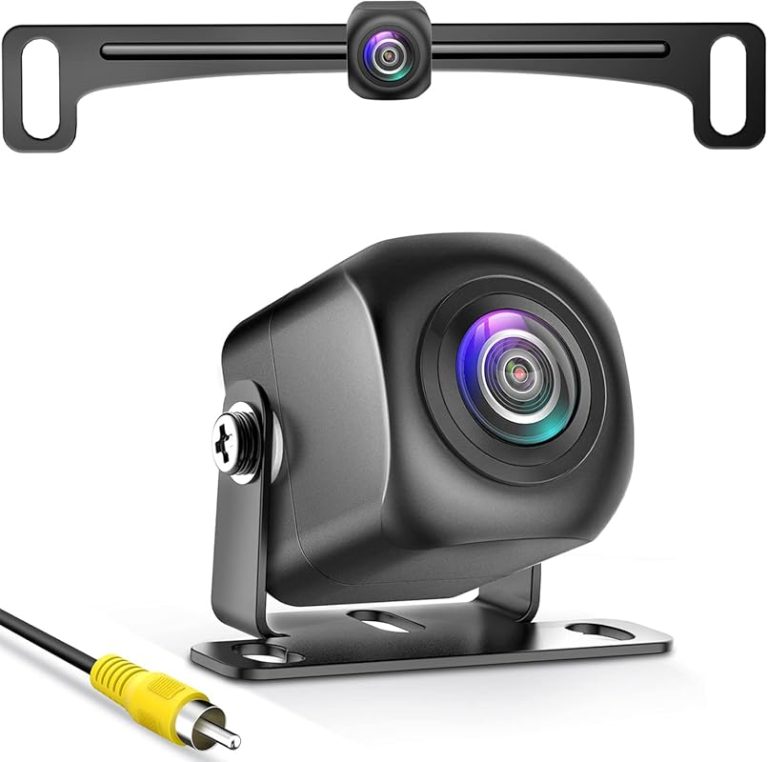
Replacement cameras aren’t universal. You need to match the connector type, video format, voltage, and mounting footprint for your vehicle. Factory cameras often use a specific connector and may require dealer-level programming or adapter hardware. A replacement with a different field of view changes what you see — a wider lens shows more but makes objects look farther away. Check the vehicle manual and the replacement’s specifications before buying.
Vehicle Compatibility
Check: Verify make, model, year, trim, connector type, video format, voltage, and mounting dimensions. limitations: Many factory cameras require a matching OEM part number or an adapter for aftermarket radios; universal cameras may not support factory guide lines or zoom features.
Repair vs. Replace: Cost, Compatibility, and Legal Considerations
Replacement Camera Costs vs. Professional Diagnosis Fees
Replacement camera prices vary widely by vehicle make, model, and trim. OEM cameras for some vehicles cost more than a professional diagnostic fee, while aftermarket universal cameras are generally more affordable. A professional diagnosis can save you from buying the wrong part, but a simple corroded connector can often be fixed with cleaning and grease for the cost of materials. Get a diagnosis before you order parts. If you’re weighing whether to repair or replace, our guide on why a rear view camera stops working covers the common failure modes in more detail.
Compatibility with Your Head Unit, Vehicle Year, and Connector Type
Match the replacement to your head unit, not just your vehicle. Factory cameras and aftermarket radios often need an adapter to convert the signal format. A camera designed for a different vehicle year may have a different connector or may not receive power at the right time. Confirm the part number against your exact trim and check the head unit’s manual for supported camera types.
Legal Variation: Rear Visibility Requirements Across U.S. States
Federal rules require most new light vehicles to include rear visibility technology, but state laws vary on how that technology can be used, modified, or replaced. A blue screen that leaves you without a rear view is a safety issue, not just an inconvenience. Check current state and federal requirements before modifying or disabling any factory camera system.
Preventing the Blue Screen from Coming Back: Maintenance and Next Steps
Dielectric Grease, Grommet Routing, and Weather Sealing
Once the image returns, spend a few minutes protecting the repair. Apply dielectric grease to every connector you touched, route cables away from hinges and sharp edges, and confirm the rubber grommets seal properly. These steps take minutes and prevent the most common causes of a returning blue screen.
Do
Test power, ground, and the video cable before buying a camera
Confirm the replacement matches your head unit and connector type
Use dielectric grease and weather sealing on all connectors
Don’t
Assume a blue screen means the camera is dead
Run new wiring near airbags, pedals, or moving parts
Ignore a flickering image — it points to a wiring fault
When to Stop DIY and Call a Professional Installer
If you’ve confirmed the camera, power, ground, and visible wiring are all good and the blue screen persists, the fault may be inside a door harness, the head unit, or the vehicle’s body harness. Those areas are harder to diagnose without vehicle wiring diagrams and specialized tools. A professional installer or dealer diagnostic service is the right call at that point — and it’s often cheaper than replacing parts blindly. If you’re planning any new camera wiring, our guide on how to install a rear view camera covers safe cable routing, fuse taps, and testing while parked.
Your Next Move: Confirming the Fix and Testing Under Real Conditions
Test the repair in the conditions that caused the failure. Shift into reverse with the engine running, open and close the tailgate, and drive over a rough surface while watching the display. Confirm the image appears every time, without flicker, before you button everything back up. A fix that only works on a workbench isn’t a fix yet.
Final Verdict
Best for: Anyone with a blue backup camera screen who wants to diagnose in order and avoid replacing a working camera.
Think twice if: The fault is inside a body harness or head unit — those cases usually need a professional.
Next step: Start with the 3-step check, then test power and ground at the camera connector before ordering any parts.
Frequently Asked Questions
The blue screen appears only in reverse because the head unit switches to the camera input when reverse is engaged. If the camera isn’t receiving power or its video signal isn’t reaching the display, the screen stays blue instead of showing an image.
Yes. On many vehicles the camera shares the reverse light circuit for power. If the circuit is blown, corroded, or the bulb is bad, the camera may not receive power at all, which produces a blue or black no-signal screen. Check the reverse lights first if they’re easy to check.
Not necessarily. The camera is only one of several possible failure points. Power, ground, the video cable, and the head unit input can all cause the same blue screen. Test those first before ordering a replacement camera.
You can check connectors and visible wiring with basic hand tools, but testing power and ground requires a digital multimeter. If you’re not comfortable probing live wiring, use a professional diagnostic service instead of guessing.
Sometimes, but not always. Factory radios may use a specific video format or connector that requires an adapter. Check the head unit manual and the camera’s specifications for compatibility before buying.
Costs vary widely by vehicle, whether the fault is a corroded connector or a failed camera, and whether you do the work yourself or use a professional. A DIY connector cleaning can cost only the price of cleaner and grease, while a dealer replacement can cost significantly more.
Hi, I'm Ethan Carter, and I've spent over a decade testing automotive electronics, dash cams, and interior accessories. I created TopBestCar.com to help car owners cut through marketing hype and find gear that actually performs for their exact make and model — backed by hands-on testing, spec comparisons, and real owner feedback.