A backup camera that fails in cold weather usually has a fixable cause like moisture, a loose connection, or a weak power supply. Start with simple checks, keep the lens clear, and call a professional if the failure persists or involves vehicle wiring.
Few things are more frustrating than a backup camera not working in cold weather, especially when you depend on it for every reverse and parking maneuver. This guide explains why low temperatures trigger camera failures, which checks are safe to do yourself, and when the smartest move is to call a professional.
Key Takeaways
Cold weather diagnosis: Most cold-weather failures trace to moisture, loose connections, or power issues, not a dead.
Safe first checks: Clear the lens, inspect the housing, and verify connections before replacing anything.
Power matters: A weak battery or charging system can cause intermittent camera shutdowns on cold mornings.
Know when to call: Corrosion, cracked housings, or high-voltage vehicle systems require professional help.
Direct Answer: What backup camera not working in cold weather Means for Owners and Drivers
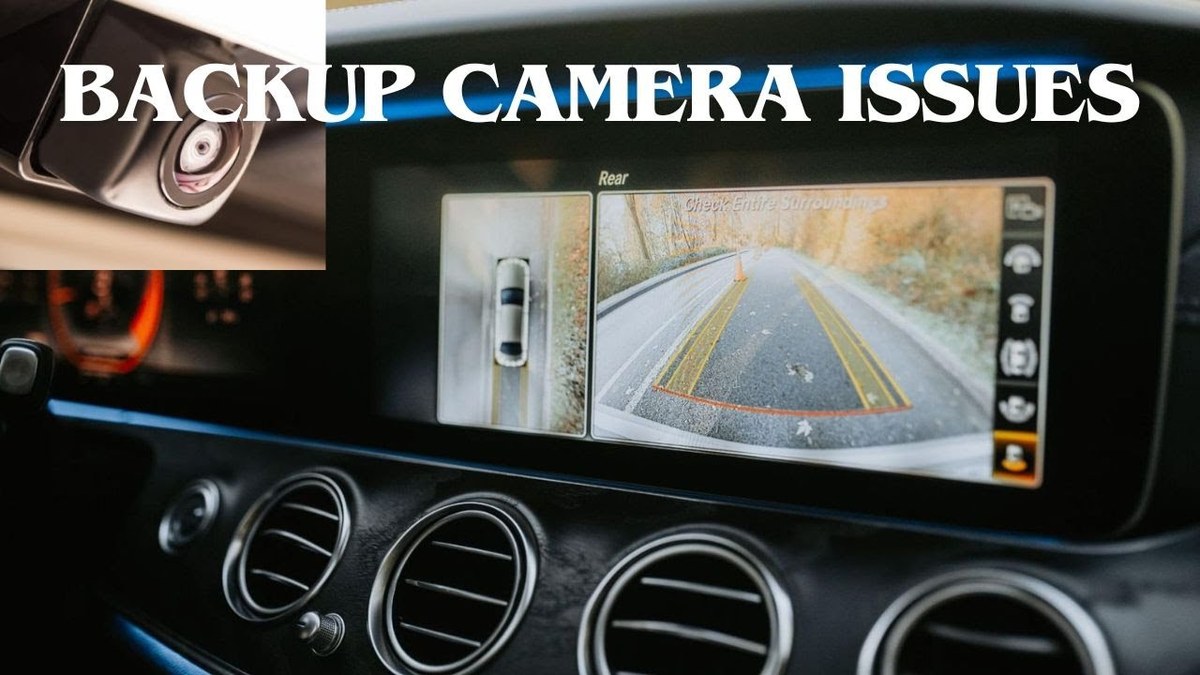
When temperatures drop, backup camera systems can fail in several distinct ways: the display stays dark, the image is slow or frozen, the screen shows static or snow, or the camera works intermittently. The root cause is usually one of four things: weakened electrical connections, moisture that freezes or condenses inside the housing, a battery or power supply that cannot deliver enough current in the cold, or an LCD panel that responds slowly at low temperatures.
For owners, a cold-weather failure is rarely a sign that the entire system is dead. Many cameras recover once the vehicle warms up or the condensation clears. For drivers, the bigger concern is safety: if the camera fails, you lose a key visibility aid, and you must adjust your reversing habits until the system is restored.
How It Works and What It Can Actually Do
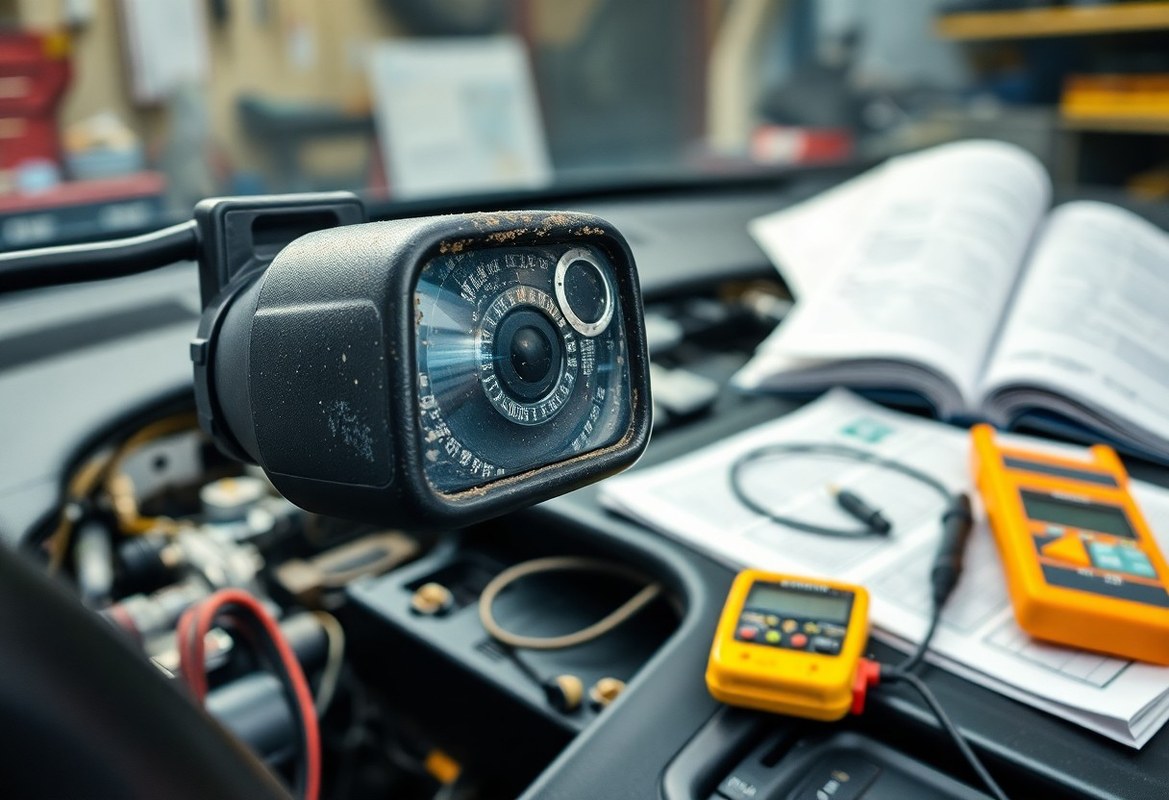
A backup camera lens obstructed by ice and snow, reducing visibility.
A backup camera system has three essential parts: the camera mounted at the rear, a display or monitor in the cabin, and a connection between them that can be wired or wireless. The camera captures a wide-angle view behind the vehicle and sends the video signal to the display, where the driver sees guide lines and a live image.
Understanding how the system works helps you diagnose a cold-weather failure. The camera lens and image sensor sit exposed to outside temperatures. If moisture gets inside the housing and freezes, the image can look foggy, streaked, or completely dark. The display, by contrast, sits in the cabin where temperatures are warmer, but LCD panels are still known to respond slowly when the vehicle has been sitting overnight in freezing conditions.
Wireless systems add a radio-frequency link between camera and display. Cold weather can affect battery performance in wireless cameras, and snow, ice, or water on the antenna can weaken the signal. Wired systems avoid some of those issues but introduce their own weak points: the cable can become brittle in extreme cold, and the connectors at both ends can loosen from thermal expansion and contraction.
For a deeper look at how these systems operate, our guide on how rear view cameras work explains the signal path, power requirements, and common failure points in more detail.
Vehicle Compatibility and Installation Requirements
Cold-weather failures are not limited to aftermarket systems. Factory-installed backup cameras on many modern vehicles can also act up in freezing temperatures, though factory systems tend to use sealed connectors and weather-resistant housings that hold up better than some budget aftermarket kits.
If you installed an aftermarket camera, compatibility matters in three ways. First, the camera must be rated for your climate. Many budget cameras have an operating temperature range printed in the manual, and models rated only for mild climates may not be designed for sustained freezing temperatures. Second, the power source must match the camera’s requirements. Some cameras draw power from the reverse light circuit, while others use a dedicated fuse tap or a battery. Third, the mounting location must protect the camera from direct moisture while still giving the driver a usable view.
If you are planning a new installation or replacing a cold-weather failure, review our rear view camera installation guide for cable routing, power connection, and mounting considerations that affect cold-weather reliability.
Safety, Visibility, Power, and Driver-Use Considerations<
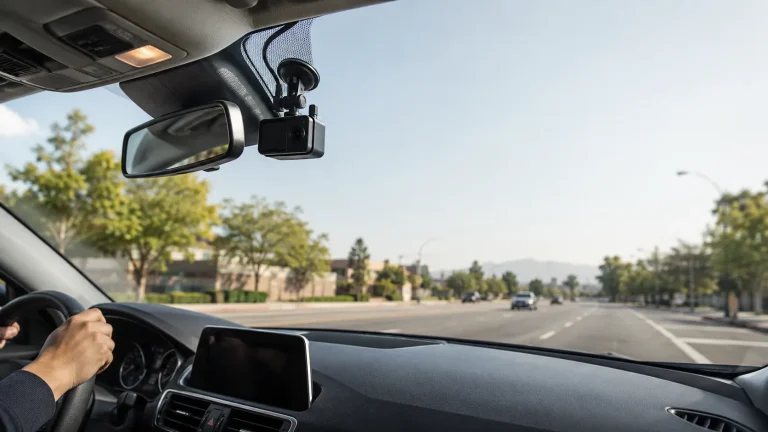
Cold weather can cause backup camera lenses to fog or freeze, reducing driver visibility.
/h2>
When a backup camera fails in cold weather, the immediate safety question is simple: can you still see what is behind your vehicle? The camera is a supplement, not a replacement, for mirrors and over-the-shoulder checks. If the display is dark or unreliable, you must slow down, use your mirrors, and ask a spotter when available.
Power is another critical factor. In very cold weather, vehicle batteries work harder to start the engine, and the electrical system may briefly drop voltage. A camera with a weak power connection or a marginal power supply can shut down during these dips. If your camera fails only on the coldest mornings, a battery or charging system check is a reasonable next step, especially if the vehicle also cranks slowly.
Visibility also matters inside the cabin. A dash-mounted display that sits in your line of sight can be a distraction, and in cold weather, a display that is slow to wake up may tempt you to keep glancing at it while driving. Position the display so you can check it quickly without taking your eyes off the road for more than a moment.
Features, Limitations, and Ownership Costs
Backup camera features vary widely, and cold-weather performance is rarely listed on the box. Some cameras advertise weatherproof housings, wide operating temperature ranges, or heated lenses, but these claims should be checked against the manufacturer’s published specifications rather than assumed.
Key features that affect cold-weather reliability include:
Weather sealing: Look for a housing with a gasket or O-ring that protects the lens and sensor from moisture.
Operating temperature range: Check the manual for the rated low and high limits.
Wired versus wireless: Wired systems generally have fewer cold-weather signal issues but require careful cable routing.
Display quality: A brighter, higher-contrast display is easier to read in winter glare.
Ownership Cost
Upfront costVaries widely by brand and feature set
Possible extrasProfessional installation, replacement camera, or wiring harness
Ongoing costNone beyond routine cleaning and inspection
For owners, the main cost consideration is whether to repair or replace. A camera that fails every winter may have a corroded connector or a cracked housing that will keep failing even after a temporary fix. In that case, replacing the camera or the full kit may cost less over time than repeated troubleshooting.
Setup, Testing, and Maintenance
Cold-weather failures can often be prevented with regular maintenance and a few simple checks. The goal is to keep moisture out, connections tight, and the camera free of ice and debris.
1
Inspect the camera housing
Check for cracks, missing gaskets, or signs of moisture inside the lens. If condensation is visible, the housing seal has failed.
2
Check the connections
With the vehicle off, inspect the connectors at the camera, along the cable, and at the display. Look for corrosion, loose fit, or damaged insulation.
3
Test while parked
Start the vehicle, shift into Reverse, and confirm the display wakes up within a reasonable time. Repeat the test after the vehicle has warmed up to compare behavior.
4
Clean and protect
Wipe the lens with a microfiber cloth, clear ice and snow from the camera and tail light area, and apply a dielectric grease to exposed connectors if the manufacturer recommends it.
If the camera fails only occasionally, a reset may help. Many systems have a reset procedure that clears stored errors, and our guide on how to reset a rear view camera walks through the steps for common configurations.
Common Mistakes and When to Get Professional Help
Some cold-weather “fixes” cause more harm than good. Avoid these common mistakes:
Do
Confirm the camera is actually failing before replacing it; check the lens, connections, and display first.
Use dielectric grease or manufacturer-approved sealant on connectors if moisture is the suspected cause.
Keep the camera lens clear of ice, snow, and road salt.
Document the failure with photos and notes so a professional can diagnose faster.
Don’t
Don’t drill holes or reroute cables near fuel lines, brake lines, airbags, or high-voltage hybrid/EV components.
Don’t apply heat guns or boiling water to a frozen camera; rapid temperature changes can crack the housing or lens.
Don’t bypass fuses or use undersized wiring to “fix” a power issue.
Don’t ignore a camera that fails every winter; repeated failures point to a deeper problem.
When should you call a professional? If the camera fails intermittently even after cleaning and tightening connections, if you see signs of corrosion inside the housing, if the vehicle’s electrical system shows other issues, or if you are not comfortable working around the fuse box, a qualified installer or dealership service department is the safer choice. The same applies if your vehicle is a hybrid or EV, where high-voltage systems require special training and tools.
For a broader look at why cameras stop working, our guide on why a rear view camera stops working covers additional causes beyond cold weather, including signal interference, power failures, and display issues.
Final Recommendation
A backup camera not working in cold weather is usually a fixable problem rather than a terminal one. Start with the cheapest and safest checks: clear the lens, inspect the housing for moisture, verify the connections, and test the system after the vehicle warms up. If the failure persists, look for a pattern. A camera that fails only on the coldest mornings may need a connector cleaning or a battery check. A camera that fails every winter likely needs a replacement housing or full camera unit.
Final Verdict
Best for: Drivers who want a reliable backup camera through freezing winters and are willing to do simple inspections and maintenance.
Think twice if: The camera housing is cracked, water has gotten inside, or the system fails even after basic checks; replacement or professional service is the better path.
Next step: Check your camera’s operating temperature range in the manual and inspect the housing and connections before the next cold snap.
Frequently Asked Questions
Cold weather affects backup cameras in several ways. Moisture can condense inside the housing and freeze, connectors can loosen from thermal contraction, and batteries or power supplies may deliver less current in freezing temperatures. The display itself can also respond slowly when the vehicle has been sitting overnight in the cold.
Yes, if moisture gets inside the housing and freezes repeatedly, it can corrode the sensor, lens coatings, or internal wiring. A cracked housing or failed gasket makes the problem worse. Most cold-weather failures are temporary, but repeated exposure to moisture and freezing can eventually cause permanent damage.
If the camera recovers when the vehicle warms up and the failure is rare, waiting is reasonable. If the camera fails every cold morning, shows visible moisture inside the lens, or has a cracked housing, replacement is the more reliable long-term fix. Repeated temporary failures usually point to a seal or connection problem that will not resolve on its own.
Start with the vehicle off and the parking brake set. Clear ice and snow from the camera lens, inspect the housing for cracks or moisture, and check the visible connectors for corrosion or loose fit. Then start the vehicle, shift into Reverse, and test the display. If you are not comfortable working around wiring or fuses, stop and consult a professional.
Wireless cameras can be more affected by cold because they rely on a battery or low-power transmitter that weakens in freezing temperatures, and snow or ice on the antenna can reduce signal strength. Wired systems avoid those issues but can develop problems at the cable connectors. Both types benefit from weather sealing and regular inspection.
Keep the camera lens and housing free of ice, snow, and road salt. Inspect the housing seal and connectors before winter and apply dielectric grease if the manufacturer recommends it. Check that the vehicle battery and charging system are healthy, since weak power delivery can cause intermittent camera shutdowns in cold weather.
Hi, I'm Ethan Carter, and I've spent over a decade testing automotive electronics, dash cams, and interior accessories. I created TopBestCar.com to help car owners cut through marketing hype and find gear that actually performs for their exact make and model — backed by hands-on testing, spec comparisons, and real owner feedback.