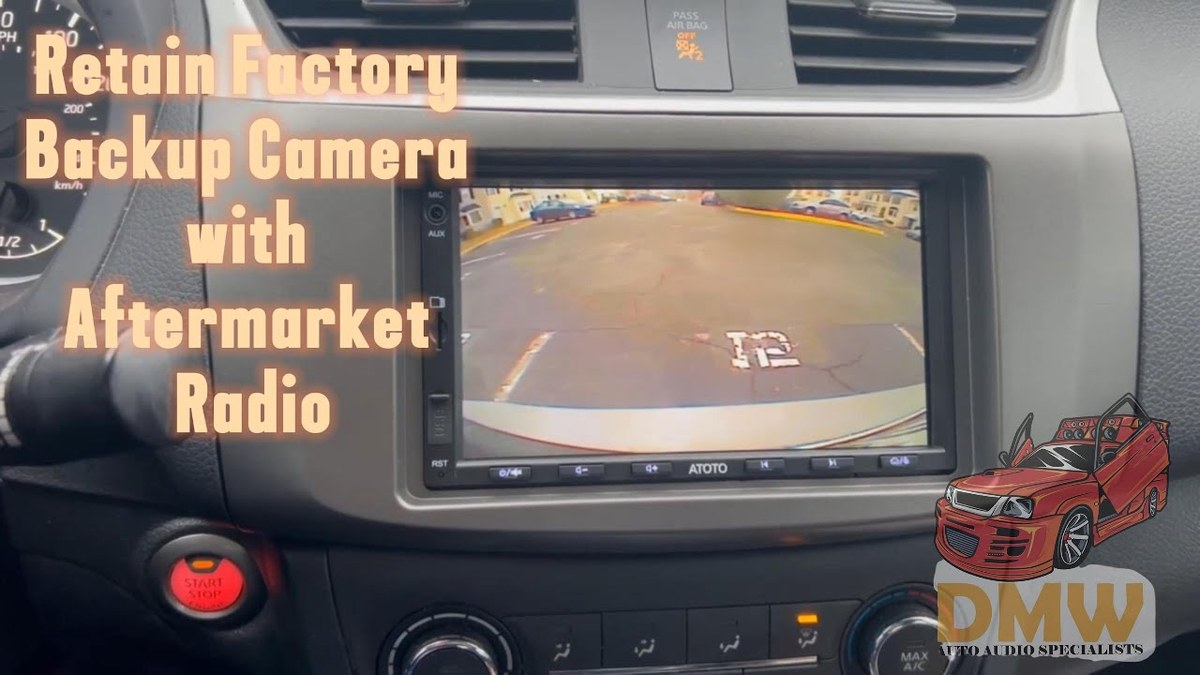
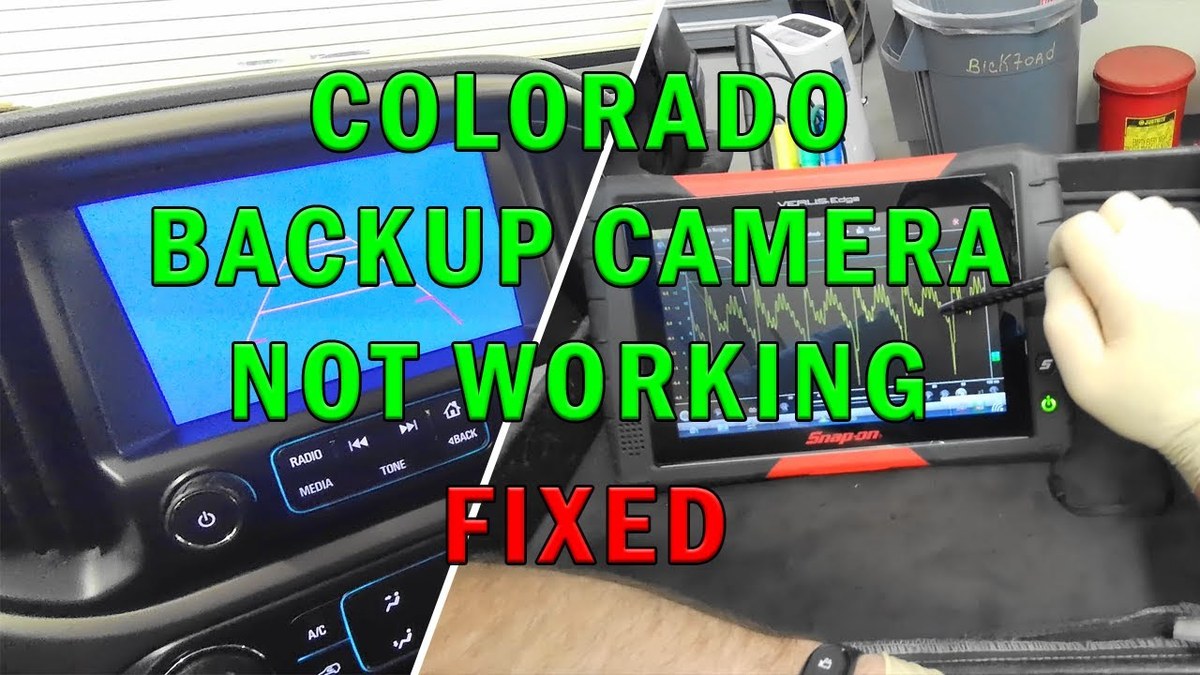
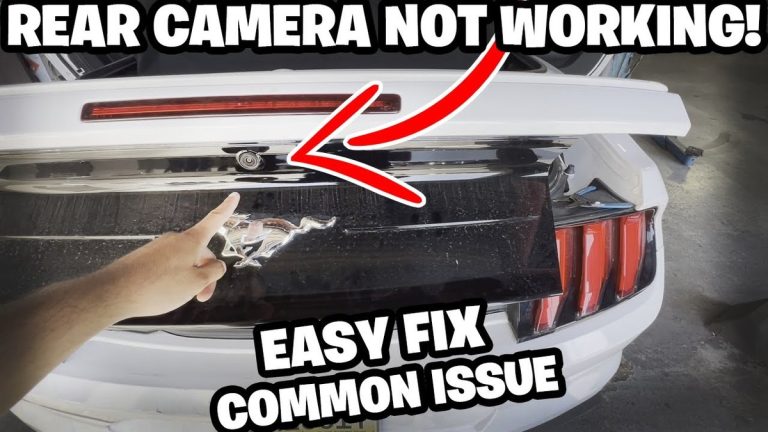
If your backup camera went dark after a radio swap, the reverse trigger wire or the radio’s camera input settings are the usual culprits. Check those two things before buying any new parts.
A backup camera not working after installing new radio is one of the most common aftermarket stereo problems, and it’s rarely caused by a dead camera. The usual culprits are a missing reverse trigger signal, a disabled camera input, or a wiring mistake made during the swap. This guide walks through each cause in order so you can diagnose the problem safely and decide whether to fix it yourself or call a professional.
Key Takeaways
Trigger wire first: The reverse trigger wire tells the radio to switch to the camera; if it’s.
Check settings: Enable the camera input and match the trigger polarity and NTSC/PAL format in the.
Know your camera: Factory digital cameras need a vehicle-specific converter; aftermarket RCA cameras plug in directly.
Test safely: Stop testing if you smell burning or see smoke, and disconnect the battery before.
The Short Answer: It’s Almost Always the Reverse Trigger Wire or Input Settings
When a camera worked before a radio swap and stops afterward, the camera itself is rarely the problem. In most cases, the new radio simply isn’t being told to show the camera when you shift into Reverse, or it isn’t set to the right video input.
The Reverse Signal: Why Your New Radio Doesn’t Know You’re in Reverse
Most aftermarket radios include a dedicated reverse trigger wire — often labeled “REV,” “Reverse,” or “Camera Trigger” — on the main harness. This wire needs to see 12 volts when the transmission is in Reverse, usually from the reverse light circuit or a factory camera harness. When the radio detects that voltage, it automatically switches the screen to the camera input. If the wire isn’t connected, or if it’s connected to a wire that doesn’t carry reverse power, the radio has no idea you’re backing up.
Some factory radios activate the camera over a data bus rather than a simple 12V wire. If your vehicle uses CAN-bus signaling, the aftermarket radio may need an interface module to translate that signal into a trigger it understands.
The Input Source: Telling the Radio to Look at the Camera
Even with the trigger wire connected, many radios require you to enable the camera input in the setup menu. Some units ship with the rear camera input turned off by default. Look for a setting labeled “Camera,” “Rear Camera,” “AV-In,” or “Backup Camera” and make sure it’s set to On. Confirm that the camera is assigned to the correct input, especially on radios with multiple AV inputs.
If the radio has a manual camera button or AV source option, select it while parked to see whether the image appears without shifting into Reverse. That test tells you whether the camera and cable are working and narrows the problem to the trigger signal.
Compatibility Check: Factory Camera vs Aftermarket Radio Signals
Factory camera signals often require an adapter for aftermarket radio compatibility.
Not all backup cameras speak the same language. Whether your factory camera can work with a new radio depends on how it sends its video signal.
OEM Cameras Use Analog or Digital Signals That Aftermarket Radios Don’t Understand
Factory cameras fall into two broad groups. Some use an analog composite signal that an aftermarket radio can accept with the right adapter. Others use a digital signal — often carried over a proprietary connector or a vehicle data network — that a standard aftermarket radio cannot decode on its own. If your camera is digital, you’ll need a signal converter or interface module designed for your specific make and model, not just a generic RCA adapter.
There’s also a third possibility: the factory camera may be analog but use a non-standard connector. In that case, a vehicle-specific wiring adapter may be all you need.
Aftermarket Cameras with RCA Outputs: The Easy Match
Aftermarket backup cameras almost always output composite video through a standard yellow RCA connector, making them a direct match for the RCA camera input on most radios. If you installed a new camera along with the radio and the screen is blank, the problem is almost certainly power, ground, trigger, or a menu setting rather than a signal format mismatch.
Vehicle Compatibility
Check: Verify your vehicle’s make, model, year, and trim, and find out whether the factory camera uses analog or digital output. Check the radio manual for the camera input type and trigger polarity. Limitations: Some digital factory cameras require a vehicle-specific converter; a generic adapter may not work.
Wiring Walkthrough: Power, Ground, and the Trigger Wire
Once you’ve confirmed the camera and radio are compatible, the next suspects are the three wires that make the camera work: power, ground, and the reverse trigger.
Constant Power vs Switched Power: Which One Your Camera Needs
Backup cameras need 12V power to operate. Some installers tap the camera’s power into a constant source, while others use the reverse light circuit so the camera only powers up in Reverse. Both approaches can work, but the reverse light circuit is more common because it also provides a natural trigger signal. If your camera is wired to a switched power source that only comes on with the ignition, it may still work — but the radio also needs a separate reverse trigger signal to switch the display automatically.
If the camera has its own power wire and you’re not sure where it’s connected, check the fuse box and the reverse light wiring. A blown fuse from the radio installation is a surprisingly common cause of a dead camera.
Ground Loops and Bad Grounds: The Hidden Culprit
A poor ground can cause a backup camera to show nothing, flicker, or cut out intermittently. The camera, the radio, and the trigger circuit all need solid grounds. If the camera’s ground is bolted to a painted or corroded surface, the video signal may never reach the radio. Clean the contact point down to bare metal and use a proper ring terminal or factory ground point.
Ground loops — where multiple components ground through different paths — can also cause interference such as rolling bars or a dim image. Keeping the camera, radio, and trigger grounds close together usually prevents this.
Radio Settings and Display Behavior: Why a Correctly Wired Camera Still Shows Nothing<
Adjusting the radio’s camera input setting restores the backup image.
/h2>
Sometimes everything is wired correctly and the camera still won’t display. That usually points to a radio setting or a video format mismatch.
Selecting the Right Camera Input and Enabling Auto-Switch
Most aftermarket radios have a menu for camera input. You may need to enable the rear camera, choose whether the trigger is positive or negative, and decide whether the radio should auto-switch when the trigger receives power. If the trigger polarity is set backward, the radio will ignore the reverse signal entirely. Check the radio’s manual for exact menu names, since they vary by brand and firmware.
Some radios also let you choose between a “camera” input and a generic “AV” input. If the camera is plugged into the AV input but the radio is looking at the camera input, you’ll see nothing. Confirm which RCA jack the camera is plugged into and assign that input in the menu.
PAL/NTSC Format Mismatch and Aspect Ratio Problems
Cameras and radios sold in the US typically use the NTSC video format, but some aftermarket cameras are switchable between PAL and NTSC. If the camera outputs PAL and the radio expects NTSC, the screen may be blank, rolling, or black and white. Check the camera’s format switch and match it to the radio’s setting.
Aspect ratio is a smaller issue. If the image looks stretched or cropped, the radio may have a 16:9 versus 4:3 display setting that doesn’t match the camera’s output. Adjust it until the image looks correct.
Aftermarket Camera Add-Ons: A Clean Installation Without Factory Harness Headaches
If the factory camera turns out to be incompatible or too expensive to convert, an aftermarket camera is often the simpler path.
Wiring a New Camera Directly to the Radio’s RCA Input
An aftermarket camera with RCA output connects directly to the radio’s camera input. Power typically comes from the reverse light circuit, and the same reverse signal can feed the radio’s trigger wire. Run the video cable from the tailgate area to the dash along the vehicle’s existing trim, keeping it away from sharp edges and moving parts. If you’re planning the full job, our guide on how to install a rear view camera walks through the routing and connection steps in more detail.
Using the Factory Camera with a Signal Converter (and When to Skip It)
If you want to keep the factory camera, a signal converter or interface module can translate its output into composite video for the aftermarket radio. These converters are vehicle-specific, so confirm that the one you’re considering supports your exact make, model, and camera type. Before you buy, compare the converter’s cost against a quality aftermarket camera. If the converter costs as much as or more than a new camera, replacement is often the better value.
Field of View, Mounting, and Calibration: Problems That Look Like a Dead Camera
Not every blank screen is an electrical problem. Sometimes the camera is fine but the image isn’t reaching the driver.
Check the Lens and Mount First: Dirt, Water, and Vibration
Before you pull the radio out again, walk to the back of the vehicle and look at the camera. A dirty lens, a water droplet, or a cracked housing can make the image unusable or completely dark. Vibration from the radio installation can also knock the camera mount out of position, pointing the lens at the bumper or the sky. If the camera is mounted behind the license plate, make sure the plate isn’t blocking the lens. For more on placement, see our guide on where to install a rear view camera.
Re-Calibrating Guide Lines After a Radio Swap
If the camera image appears but the parking guide lines are wrong, the radio may be drawing its own lines over the camera feed. Many aftermarket radios let you adjust or disable the on-screen guide lines in the camera menu. If the lines come from the camera itself, they may need a small physical adjustment of the camera angle rather than an electronic calibration.
Safety and Legal Considerations: When to Stop and Call a Professional
A backup camera is a safety feature, and losing it after a radio install is more than an inconvenience. It’s also worth understanding the federal rule that put cameras in most new vehicles.
The 2018 Backup Camera Mandate and Your Legal Responsibility
NHTSA’s rear visibility rule, finalized under Federal Motor Vehicle Safety Standard No. 111, required all new light vehicles sold in the US to include rear visibility technology by May 2018. That rule applies to vehicle manufacturers, not to owners who modify their vehicles. However, if your radio swap disables the factory camera, you’ve removed a safety feature that was original equipment. Restoring it should be a priority, especially if you regularly carry passengers or park in tight spaces.
When Testing Becomes Unsafe: Signs of Shorts or Damaged Wiring
If you smell burning plastic, notice a hot wire, hear popping from the radio, or keep blowing the same fuse, stop immediately and disconnect the radio’s power. These are signs of a short circuit or an incorrectly sized fuse. Continuing to test can damage the radio, the camera, or the vehicle’s electrical system — and in the worst case, start a fire.
Cost Breakdown: DIY Fix vs Professional Installation
Whether you fix this yourself or hire a pro depends on your comfort level with vehicle wiring and the specific cause of the problem.
Parts You Might Need: Converters, Adapters, and Relays
Depending on the diagnosis, you may need a vehicle-specific wiring adapter, a signal converter for a digital factory camera, or a replacement aftermarket camera. Prices vary widely by brand, vehicle, and retailer, so check current listings before committing. If the problem is simply a disconnected trigger wire or a menu setting, the fix costs nothing but your time.
Labor Costs and How to Avoid Paying Twice
Professional installation labor also varies by shop, vehicle, and region. The best way to avoid paying twice is to make sure the shop diagnoses the actual cause rather than replacing parts on a guess. Ask whether the quote includes checking the trigger wire, camera input settings, and signal format. If you’re taking the vehicle in, write down exactly what you already tested so the installer doesn’t repeat your work.
Next Steps: A Practical Troubleshooting Checklist Before You Buy Anything
Work through this list in order while the vehicle is parked. It covers the causes behind the vast majority of cases.
The 10-Minute Test Sequence That Diagnoses 90% of Cases
1. Turn the radio on and manually select the camera or AV input. If the image appears, the camera and cable are fine — move to the trigger wire.
2. Check that the reverse trigger wire is connected to a circuit that has power only in Reverse. Use a multimeter to confirm.
3. Verify the radio’s trigger polarity setting matches the signal (positive or negative).
4. Confirm the camera is plugged into the correct RCA input and that the cable is fully seated.
5. Check the camera’s power and ground connections, including the fuse.
6. Set the video format (NTSC/PAL) to match the camera.
7. If the camera still shows nothing, test it on another display that accepts composite video, if you have one.
For a deeper look at camera failures beyond radio swaps, our article on why a rear view camera isn’t working covers additional causes like broken lenses and failing image sensors. If the camera worked before the swap and nothing else changed, the problem is almost certainly in the installation rather than the camera itself.
Frequently Asked Questions
The most common causes are a disconnected reverse trigger wire, a camera input that isn’t enabled in the radio menu, or a video format mismatch such as PAL versus NTSC. Check the trigger wire and radio settings before replacing the camera.
It depends on whether your factory camera outputs an analog or digital signal. Analog cameras may only need a vehicle-specific wiring adapter, while digital cameras usually require a signal converter or interface module.
The reverse trigger wire is a radio input that tells the head unit to switch to the camera view when the vehicle is in Reverse. It typically connects to the reverse light circuit or a factory camera harness and must see 12 volts only when Reverse is engaged.
Yes. A poor ground can cause a blank screen, flickering, or intermittent operation. Clean the ground contact down to bare metal and use a proper ring terminal or factory ground point.
The NHTSA rear visibility rule applies to manufacturers of new light vehicles, not to owners who modify their vehicles. However, disabling a factory safety feature is a practical risk, so restoring the camera should be a priority.
The cost varies widely. If the fix is a disconnected trigger wire or a menu setting, it may cost nothing. A signal converter, adapter, or replacement camera adds parts cost, and professional labor varies by shop and region.
Hi, I'm Ethan Carter, and I've spent over a decade testing automotive electronics, dash cams, and interior accessories. I created TopBestCar.com to help car owners cut through marketing hype and find gear that actually performs for their exact make and model — backed by hands-on testing, spec comparisons, and real owner feedback.
Compare rear view camera for car for safety, compatibility, installation, useful features, and value. Read the guide to find the right choice for your car.