Where Not to Put a Dashcam: 7 Unsafe Mounting Spots

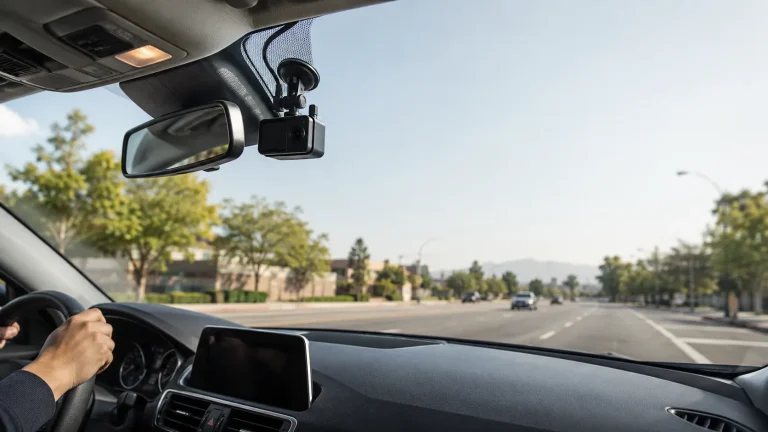
Do not place a dashcam where it blocks your road view, covers an original windshield camera, sits in an airbag path, hangs below the mirror, or records through glass outside the wiper-swept area. A safer general spot is high on the passenger side of the rearview mirror, if your state and vehicle manual allow it.
The best placement keeps the camera useful but almost invisible to the driver. Owners get cleaner footage and fewer mount problems. Drivers keep a clear view of traffic. The main limit is that no single mounting spot works for every state, windshield, camera, or vehicle safety system.
Knowing where not to put a dashcam matters as much as choosing the camera. A poor location can hide part of the road, create glare, weaken video quality, or interfere with a factory camera near the mirror.
Placement also affects cable safety. A loose wire can fall into view. A cable tucked across an airbag path can become a hazard. Before you install anything, check the vehicle manual and the dashcam instructions.
For more buying and setup help, see our car electronics guide.
Where Not to Put a Dashcam
1. Directly in the Driver’s Line of Sight
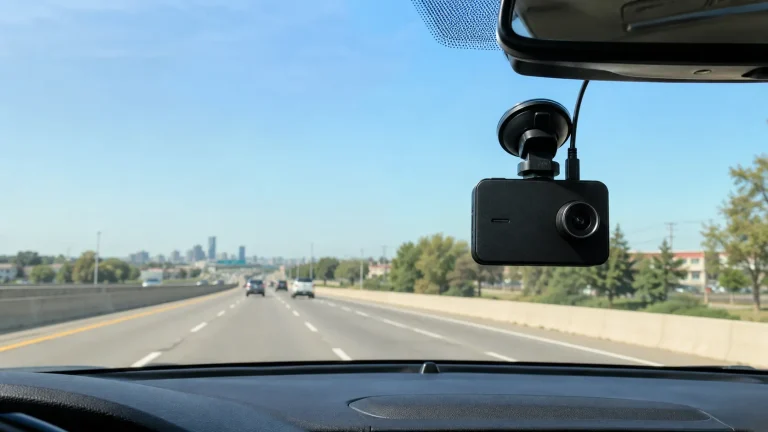
Do not mount the camera in the middle of the area you use to see the road. This includes the space just below the rearview mirror if the camera body hangs into view.
A small device can still hide a pedestrian, traffic light, bicycle, or road sign at the wrong moment. Sit in your normal driving position before choosing the spot. Check the view ahead, to both front corners, and around the mirror.
2. In Front of a Factory Windshield Camera
Many newer vehicles have a forward camera near the rearview mirror. It may support lane alerts, automatic high beams, or other advanced driver-assistance systems (ADAS).
Do not cover that camera, its lens area, or the marked space around it. Toyota, for example, warns owners not to attach objects to the windshield area in front of its forward camera. Check the Toyota owner-manual guidance for a front camera as one model-specific example.
Check: Your year, make, model, trim, windshield camera location, mirror housing, rain sensor, and marked no-mount zones. Limitations: A placement that works in one vehicle may block equipment in another.
3. On an Airbag Cover or Deployment Path
Do not mount the camera or clips on an A-pillar trim panel, roof-side rail, or marked airbag area. Do not run a power cable across a curtain-airbag path.
Ford warns against placing equipment near the headliner side rail and against blocking the deployment path of side curtain airbags. Its manual also cautions against modifying A-, B-, or C-pillar trim. Review this Ford side-curtain airbag guidance, then check the manual for your own vehicle.
4. Too Low on the Windshield or Dashboard
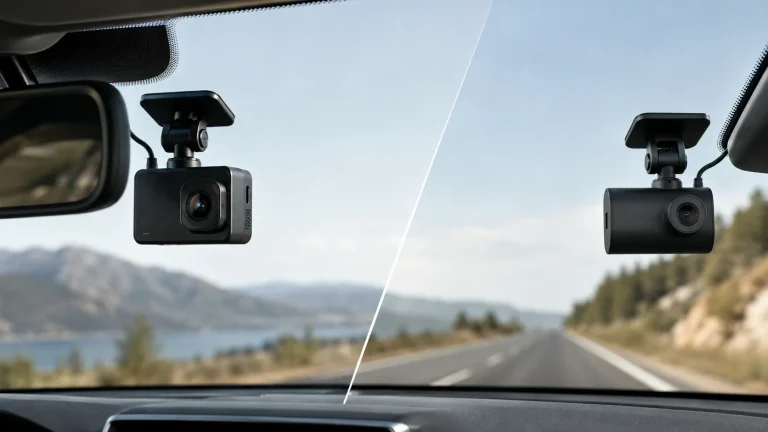
A low mount can block the hood line, hide part of an intersection, or draw your eyes downward. A dashboard mount may also place the lens too far from the glass. This can increase reflections from the dash and cabin.
Do not assume a dashboard location is safer just because it is not stuck to the windshield. The camera, mount, and cable must not reduce your clear view of the road.
5. Outside the Windshield Wiper Area
Do not place the lens where rain, snow, road spray, or dirt stays on the glass. The camera may look fine while parked but lose the road view in bad weather.
Test the wipers before attaching the mount. The lens should look through a clean part of the wiped area. Keep the camera body outside your sightline while the lens stays inside that clear zone.
6. On Loose Tint, Dirty Glass, or Unstable Trim
Do not stick an adhesive mount to oily glass, loose aftermarket tint, textured plastic, or the back of a mirror housing. The mount may fall, damage the film, or move enough to ruin the camera angle.
Clean the inside glass with a lint-free cloth and a suitable glass cleaner. Follow the mount maker’s curing instructions. Ask the tint installer before applying adhesive to aftermarket film.
7. Where the Mirror, Visor, or Screen Causes Trouble
Do not place the camera where the rearview mirror hits it during adjustment. Keep it clear of both sun visors. Also avoid a spot where a bright screen or status light reflects in the windshield at night.
Move the mirror and visors through their full range before final mounting. Test the camera screen after dark while the vehicle is parked.
| Bad Location | Main Risk | Better Check |
|---|---|---|
| Driver’s sightline | Blocks road view | Check from the seat |
| Factory camera area | May affect ADAS | Read vehicle manual |
| A-pillar or headliner | Airbag interference | Find deployment zones |
| Outside wiper sweep | Poor wet-weather video | Run the wipers |
| Loose tint or trim | Mount may fall | Use clean solid glass |
| Near mirror or visor | Impact or distraction | Test full movement |
What Is Usually the Safest General Position?
A common starting point is high on the passenger side of the rearview mirror. The camera body should stay out of the driver’s view. The lens still needs a clear view through the wiped glass.
This is not a universal rule. Some vehicles have a large sensor housing behind the mirror. Some states restrict windshield-mounted objects. Some dashcams also need space for a screen, cabin lens, or removable memory card.
How to Test a Dashcam Position Before Sticking It
Check the vehicle manual for cameras, sensors, airbags, and no-mount areas. Check the dashcam manual for angle and mounting limits.
Use low-tack tape to hold the camera or mark the mount location. Do not remove the adhesive backing yet.
Sit normally and look through the whole windshield. Move the mirror and both visors through their full range.
Power the camera while parked. Confirm that the hood, horizon, road edges, and traffic area appear as the maker recommends.
Run the wipers. Then plan a cable path that stays secure and clear of airbags, controls, pedals, steering parts, and moving seats.
Clean the glass, attach the mount, and follow the curing time. Recheck the view and recording angle before driving.
For trim-safe setup items, browse our tools and garage gear.
Why Screen Position and Controls Matter
A dashcam can become a distraction if you keep checking the screen or changing settings while moving. Finish setup while parked. Set the date, audio choice, loop recording, and screen timeout before the trip.
US Mounting Laws Can Change by State
There is no safe reason to guess about windshield rules. State laws can use different device definitions, allowed zones, and size limits. A rule for a phone, toll tag, or commercial recorder may not cover your personal dashcam.
Also check local rules if you drive for a company, transport passengers, cross state lines, or use a commercial vehicle. An employer may have its own camera and privacy policy.
Owner Checks After Installation
Good placement is not a one-time task. Heat, cold, cleaning, and daily mirror use can loosen a mount or shift the lens. A cable clip can also release over time.
- Keep the driver’s view clear
- Check factory camera zones
- Use the wiper-swept glass
- Secure cables away from airbags
- Mount over a sensor lens
- Cross an airbag path
- Adjust settings while driving
- Assume every state is the same
- Confirm the legal mounting area in your state
- Find windshield cameras, rain sensors, and marked zones
- Identify curtain-airbag locations and a safe cable path
- Check the driver’s view from the normal seat position
- Confirm the lens sits inside the wiper-swept area
- Test mirror, visor, screen, and night glare while parked
- Check tint and mount-maker instructions
- Best for: Drivers who want clear footage without losing road visibility.
- Think twice if: The only open spot covers a sensor, airbag route, or legal sight area.
- Next step: Use temporary tape, test the view, and check both manuals before attaching the mount.
Frequently Asked Questions
Usually, you should avoid the middle of the windshield if the camera blocks any part of your road view. Windshield-mount laws also vary by state. A high position near the passenger side of the mirror is often less visible, but you must check your vehicle and state rules.
Yes. A dashcam, mount, sticker, or cable placed in front of a factory windshield camera may reduce its view. Check the marked sensor area and the owner’s manual. Keep the dashcam outside any no-mount zone around lane, collision, rain, or light sensors.
It may be safe only when the cable route does not cross or restrict a curtain airbag. Do not guess. Check the vehicle manual and airbag labels. Use a professional installer when you cannot identify the deployment path or safely remove and replace the trim.
Yes. The lens should look through a part of the windshield that the wipers can clear. Otherwise, rain, snow, or road spray may hide the scene. Test the wipers before final mounting and make sure the camera body still stays outside your main sightline.
Ask the tint installer and dashcam maker first. Adhesive or a suction cup may lift, bubble, or mark some films. A removable protective film or approved mounting patch may help, but it must not create a loose mount or block the driver’s view.
Dashcam use and mounting rules are not identical in every state. The key issue is often windshield obstruction, device location, recording, or audio consent. Check the current state code for every place where you regularly drive, especially before crossing state lines.
No. Do not aim the camera, change settings, review footage, or handle the memory card while moving. These tasks take your eyes or hands away from driving. Pull over safely, park, and finish the adjustment before returning to the road.
Conclusion
Where not to put a dashcam is simple in principle: avoid your sightline, factory camera zones, airbag paths, unwiped glass, weak surfaces, and distracting positions. Owners gain more reliable footage and fewer mount problems. Drivers keep a clearer view and fewer loose items near them.
The main limit is that vehicles and state rules differ. Before the final install, confirm the camera location in both manuals, check the current law, and test the full setup while parked. You can also review our safety gear guide for more driver-focused equipment checks.