How Do Wireless Dual Camera Systems for Cars Work? A Clear Guide

Wireless dual camera systems use two cameras—usually one facing forward and one facing backward—to record different areas around your car. The cameras capture video, send it to a central unit or phone through a wireless connection, and receive power from the vehicle or built-in batteries.
I’ll explain how the cameras share video, how wireless signals and power work, and how system designs differ. You’ll also learn what to check during installation, how to maintain reliable footage, and which features support safer driving.
Key Takeaways
- Two cameras record front and rear views.
- Wireless links transfer video between system parts.
- Proper power, placement, and signal strength improve reliability.
Core Components And Signal Flow
I view a wireless dual camera system as a chain: two cameras capture images, radio hardware sends the video, and a screen or recorder processes and stores it. The system may remove the video cable between the front and rear units, but both cameras still need power.
Camera Modules And Image Sensors
The front and rear camera modules use a lens, image sensor, and processor to create video. The lens sets the viewing angle, while the CMOS sensor changes incoming light into electrical data. A wider lens can show more of the road, but it may make objects look smaller or bend lines near the edges.
Each camera usually connects to the vehicle’s power system through a cable. The front camera often mounts near the rearview mirror. The rear camera may mount inside the back window, above the license plate, or on a trailer.
The camera processor adjusts exposure, color, and image sharpness before sending the video. It may also add features such as parking guidelines, night recording, or a reverse-image setting. The rear camera can send a live view when I select reverse, depending on how I connect the trigger wire.
Wireless Transmitters And Receivers
A transmitter changes the camera’s processed video into a radio signal. Common systems use 2.4 GHz or 5.8 GHz links, while Wi-Fi models may connect through a phone or a dedicated display. The receiver, built into the monitor or recording unit, changes the signal back into video.
Wireless transmission does not remove every cable. I still need power at the camera and receiver, and the system may require a separate trigger wire for automatic reverse viewing. Digital systems often provide a clearer signal than older analog designs, but walls, metal body panels, distance, and electrical interference can reduce reliability.
A good system keeps the front and rear video streams identified correctly. Some models send both feeds to one central unit, while others use separate radio links. Signal delay can occur, so I should choose equipment designed for real-time vehicle use.
Display Units And Recording Devices
The display shows the live feed and may switch to the rear view when I engage reverse. It can use a built-in screen, a replacement rearview mirror, or a separate dashboard monitor. I check screen brightness, viewing angle, and control placement because these affect use in daylight.
The recording device usually stores footage on a microSD card. It may combine both camera feeds into one file or save them as separate front and rear files. Important features include loop recording, automatic file protection during a crash, and support for the camera system’s video resolution.
Power management controls how the system starts and stops. The unit may use ignition power for normal recording and a low-power parking mode when the car is off. I should confirm that the memory card, power adapter, and recorder support both cameras at the same time.
Video Transmission And Power Delivery
I treat a wireless dual camera system as two camera units, a radio link, and a separate power system. The cameras send video without a long video cable, but they still need reliable electrical power and a compatible receiver or display.
Radio Frequencies And Pairing
Most systems use the 2.4 GHz or 5 GHz Wi-Fi bands. Some dedicated backup camera kits use a matched digital transmitter and receiver instead of connecting directly to a phone. The rear and front cameras send their video to the receiver, which displays one view or switches between both views.
Pairing links each camera to the correct receiver and prevents nearby systems from showing the wrong image. During setup, I follow the manufacturer’s pairing order and keep the cameras close to the receiver. A Wi-Fi model may use a phone app, while a dedicated kit usually requires its supplied monitor or video interface.
Wireless transmission removes the video cable, not every wire. Each camera still needs power, ground, and sometimes a trigger connection. The receiver and monitor also need their own power connections.
Latency, Range, And Interference
Latency is the delay between the camera’s view and the image on the screen. A short delay is important when I use the system while reversing or changing lanes. Digital systems usually provide a stable image, but video compression and weak signals can increase delay.
The vehicle’s body, metal panels, tinted glass, and cargo can reduce signal range. Other devices using the same radio band may also cause interference. I get better results when I mount the receiver away from large metal objects and route its antenna according to the installation instructions.
A dual camera system may share bandwidth between both video feeds. High resolution, a fast frame rate, or simultaneous recording can increase the data load. I check the rated range in real driving conditions rather than relying only on the open-air rating.
Wired Power Connections
Wireless cameras commonly receive power from the vehicle’s 12-volt electrical system. I connect a rear camera to a fused reverse-light circuit when I want it to activate during reverse. A front camera may use an ignition-switched circuit so it operates only when the vehicle is running.
The receiver and display need a separate connection, often through an accessory socket or a fused hardwire kit. I verify voltage and polarity before making connections, then protect each circuit with the correct fuse. I also secure wires away from exhaust parts, hinges, pedals, and sharp edges.
A reverse-light circuit can contain electrical noise or provide power only while reversing. If the system behaves inconsistently, I use the manufacturer’s relay, filter, or dedicated power adapter rather than bypassing the fuse.
Common System Configurations
I usually see wireless dual-camera systems arranged for forward and rear coverage, side visibility, or backup and trailer monitoring. The camera layout affects the display, power setup, wireless range, and the amount of vehicle wiring needed.
Front And Rear Coverage
A front-and-rear system uses one camera facing the road and another facing behind the vehicle. The front camera often mounts near the windshield and records traffic, lane markings, and incidents ahead. The rear unit may mount inside the back window or outside near the license plate.
A wireless transmitter sends the rear camera’s video to a dashboard monitor or recording unit. The cameras still need power, usually from the vehicle’s fuse box, a USB port, or the reverse-light circuit. Wireless transmission removes the long video cable between the camera and display, but it does not remove all wiring.
I can set the monitor to show one camera, switch between views, or display both feeds together when the system supports split-screen viewing. A dual dash cam normally records both channels, while a wireless backup system may show the rear feed only when I select reverse.
Side And Blind-Spot Views
Side-view systems add cameras to the mirrors, front fenders, or vehicle sides. These cameras help me monitor areas that the front and rear cameras may not capture, such as the space beside a truck, van, or recreational vehicle.
A system may use two side cameras with a front or rear camera, or it may connect several cameras to a multi-view monitor. The display can show separate feeds or combine them in a split-screen layout. Some models activate a side view when I use a turn signal, but this feature depends on the monitor and vehicle wiring.
Wireless side cameras need a clear signal path and a nearby power source. Metal body panels, long vehicle lengths, and electrical interference can reduce video quality or cause delays. I should check the camera’s viewing angle and weather rating before mounting it outside.
Backup And Trailer Monitoring
Backup systems usually place a camera near the rear license plate or hatch. When I shift into reverse, a trigger wire can tell the monitor to display the rear view. The camera sends live video wirelessly, while the monitor may add parking guides to help estimate distance.
Trailer systems use a camera mounted on the trailer, hitch area, or rear frame. A wireless link avoids running a video cable through the trailer, but I still need a reliable power connection, often from the trailer’s lighting circuit or a separate battery.
For long trucks, RVs, and trailers, I should confirm the system’s stated transmission range under real conditions. I also need to check whether the monitor supports multiple cameras, because a single rear camera may not cover the hitch, trailer sides, and surrounding traffic at the same time.
Installation And Setup Considerations
I get the best results when I plan camera positions, keep the receiver away from interference, and test the wireless link before securing every cable. I also check power needs, memory card support, and local rules before I finish the installation.
Camera Placement And Viewing Angles
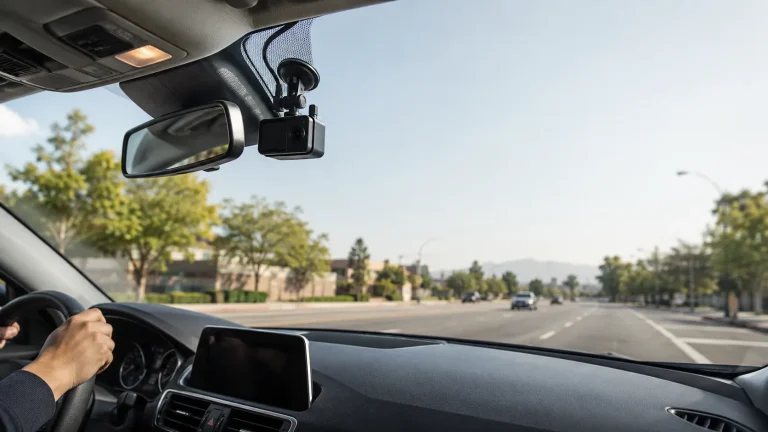
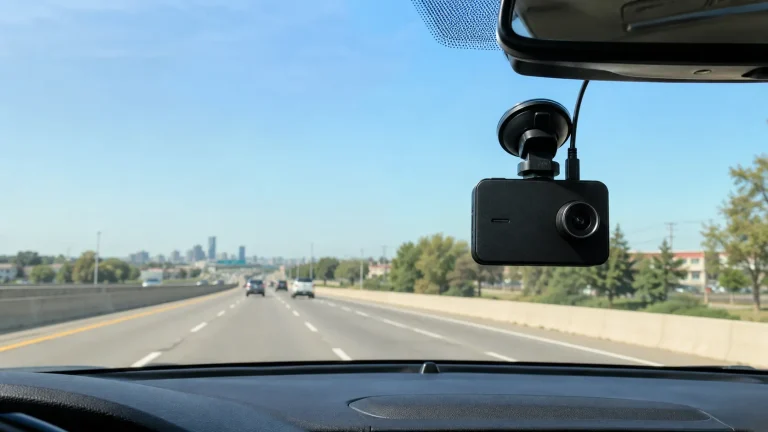
I mount the front camera near the center of the windshield, behind or beside the rearview mirror. This position gives me a balanced view and keeps the camera from blocking my sight. I clean the glass first and keep the lens below the tinted area, if possible.
I place the rear camera high on the back window or near the license plate, depending on its design. I angle it to show the lane behind me without including too much sky or the car’s trunk. If the camera faces through glass, I check for reflections and defroster lines that could reduce image quality.
I keep both lenses level and make sure wipers can clear the viewing area. I also confirm that interior trim, spoilers, or a trailer does not block the rear view.
Mounting The Receiver And Display
I place the receiver where it has a clear path to both cameras, such as under the dashboard or near the center console. I avoid locations beside metal panels, dense wiring, or electronic control units because these can weaken the wireless signal or add interference.
I mount the display where I can see it without taking my eyes far from the road. A dashboard or windshield mount should remain outside the main airbag deployment areas. I route power cables along trim panels and leave enough slack near moving parts.
I use the supplied power adapter or a compatible hardwire kit. Before connecting it to a fuse, I verify the vehicle’s voltage, fuse type, and the kit’s circuit protection. I avoid loose connections that can cause resets or battery drain.
Calibration And Connection Testing
I pair both cameras with the receiver before I hide the cables. I follow the manufacturer’s pairing order, then confirm that the display shows the correct front and rear feeds. I test the system with the engine running and with the vehicle parked in its normal position.
I adjust each camera while watching its live image. Straight road edges should look reasonably level, and the rear view should show useful space behind the vehicle. I check the image at night, in bright sunlight, and with the rear window wet if that affects visibility.
I insert a compatible high-endurance memory card, format it in the camera, and record a short test clip. I review the clip for dropouts, poor focus, glare, and audio problems. I also test loop recording, parking mode, and any wireless range limits before replacing the trim.
Image Quality, Safety, And Reliability
I judge a wireless dual camera system by its night footage, weather protection, parking setup, and wireless security. Clear video helps me read plates and identify events, while reliable connections and careful installation reduce missed recordings.
Night Vision And Weather Resistance
I look for a front camera with a strong image sensor, a wide aperture, and careful image processing. Resolution alone does not guarantee clear footage. At night, these features help capture road signs, vehicles, and people without excessive glare from headlights.
The rear camera may need more help in darkness. Infrared lighting can improve low-light footage, but it may not work well through a tinted rear window because reflections can wash out the image. I check sample footage recorded at night before buying.
I also check the camera’s weather rating and operating temperature range. A rear camera mounted outside should resist rain, dust, and road spray. I keep the lens clean and confirm that its cable connections have proper seals. Heavy rain, fog, snow, and dirty lenses can still reduce image detail.
Parking Guidelines And Driver Awareness
I treat parking mode as a support feature, not a replacement for careful driving. Depending on the model, the cameras may record continuously, wake after detecting motion, or save footage after detecting an impact. Continuous parking recording uses more power and may require a hardwire kit with low-voltage protection.
I install the cameras where they do not block my view. The front lens should sit behind the windshield, near the center, and outside the wiper’s dirty area. I place the rear lens where it shows useful road coverage without obstructing the rear view.
I also check local laws before recording inside the cabin or using audio. Wireless viewing can help me review footage, but I avoid changing settings while driving. I stop safely before using the phone app.
Security And Signal Protection
Wireless cameras usually send video to a phone through Wi-Fi rather than through the vehicle’s cellular network. A 5 GHz connection can transfer large files quickly at short range, but walls, the vehicle body, and distance can weaken the signal. I keep the phone close to the camera during downloads.
I change the default Wi-Fi password and use the newest security option the camera supports. I update the camera’s firmware through the manufacturer’s official app or website. I avoid unknown apps and public networks when handling recorded footage.
Wireless transfer does not replace local storage. I use a high-endurance microSD card that matches the camera’s requirements and format it as recommended. I lock important clips or copy them to a phone or computer soon after an incident, because loop recording may eventually overwrite them.
Choosing And Maintaining A System
I match the camera system to the vehicle’s wiring, available power, and screen or phone setup. I then compare video quality, storage, wireless range, and installation needs before keeping the lenses, connections, and software in good condition.
Compatibility With Vehicle Electronics
I first check the vehicle’s power system and available ports. Most wireless dual-camera systems still need wired power for the front camera, rear camera, or both. “Wireless” usually means the cameras send video without a long video cable; it does not mean they run without power.
I confirm the system supports my vehicle’s voltage, typically 12 volts, and check whether it can use a fuse box, accessory socket, or USB port. A hardwire kit may need a fuse tap and a low-voltage cutoff to protect the battery during parking mode.
I also check the display method. Some systems use a phone app through Wi-Fi, while others connect to a dedicated screen or mirror display. I verify the app works with my phone’s operating system and ensure the rear camera’s signal can reach the front camera through the vehicle’s cabin.
Key Features To Compare
I compare the front and rear recording quality separately. A system may offer higher resolution in front than behind, so I check both channels. Wide viewing angles help cover more road, but an extremely wide lens can make license plates look smaller near the image edges.
Important features include:
- Night recording: Look for clear low-light footage, not just a high resolution label.
- Loop recording: The camera replaces older unlocked clips when the memory card fills.
- G-sensor: It locks footage after a collision or sudden movement.
- Parking mode: It may require a hardwire kit and a low-voltage cutoff.
- Storage: I use a compatible, high-endurance microSD card.
- Wireless transfer: Wi-Fi can move clips to a phone, but it does not provide unlimited internet access.
I also check whether the system records sound, displays both views at once, and includes GPS data.
Cleaning And Troubleshooting
I clean each lens with a soft microfiber cloth and a small amount of lens-safe cleaner. I keep the windshield area behind the camera free from dirt, stickers, and heavy tint because these can reduce image clarity. For the rear camera, I remove dust and water spots after driving in rain or on dirty roads.
If the camera loses power, I test the power adapter, fuse, cable, and connection points. If the rear view drops out, I move the front unit closer, reduce wireless interference, or check whether the rear camera has a stable power supply. I also restart both units and install approved firmware updates.
When recordings fail, I inspect the microSD card. I back up needed clips, format the card in the camera, and replace it if errors continue. I avoid removing the card while the camera is recording, which can damage files.
Frequently asked questions
Does “wireless” mean the cameras need no cables?
Not always. In many systems, wireless means the rear camera sends video to the front unit through Wi-Fi or another wireless link. Both cameras still need power, usually from the car’s electrical system or a USB adapter.
How do the two cameras record?
The front and rear cameras capture video at the same time. The main unit combines the footage or saves it as separate files on a memory card. I can usually review the recordings through the camera’s screen, phone app, or computer.
Can a wireless dual camera record while my car is parked?
It can, but the system needs continuous power. Parking mode may use a hardwire kit, an external battery, or another power source. I also need to check whether the camera supports motion or impact detection.
Is the rear video as clear as the front video?
Not always. The front camera often has a higher resolution and a wider view. Rear image quality depends on the camera sensor, lighting, window tint, weather, and wireless signal strength.
What happens if the wireless connection drops?
Some systems stop transferring rear video, while others store footage locally and reconnect later. I should choose a model with stable communication, loop recording, and clear connection alerts.
What features should I look for?
- Front and rear recording
- Reliable wireless connection
- Night vision
- GPS and impact detection
- Loop recording
- Easy phone access
- Support for a high-endurance memory card
Conclusion
I view a wireless dual camera car system as a setup with two cameras, usually one facing forward and one covering the rear or cabin. The cameras capture video at the same time, while wireless connectivity sends footage to a phone, display, or cloud service.
“Wireless” usually describes data transfer, not the power supply. I still need to connect the cameras to the vehicle’s electrical system, a USB adapter, or another power source. Some systems also use a rear camera cable for power or a more stable connection.
Before choosing a system, I check the following:
- Camera coverage: front, rear, interior, or side views
- Connection method: Wi-Fi, Bluetooth, cellular, or a dedicated display
- Storage: memory card, phone storage, or cloud service
- Night performance: image quality in low light
- Parking mode: motion or impact recording when the car is parked
- Installation needs: cable routing, power access, and vehicle fit
I also confirm how the system handles weak signals, heat, storage limits, and automatic recording. These details affect daily use more than the wireless label alone.