Start with the cable: it is the most common cause of a dead rear channel in a dual-channel dash cam. If the cable and connectors are sound, check power, settings, and the memory card before replacing any hardware.
A dash cam rear camera not working is one of the most common dual-channel dash cam complaints, and most causes are fixable at home in under an hour. This guide walks through the likely culprits in order so you can decide whether to repair, replace, or upgrade.
Key Takeaways
Cable first: The rear-cam cable fails most often; test it by swapping cameras before buying parts.
Power matters: Parking mode and low-voltage cutoff can shut down the rear channel while the front.
Check settings: A rear-channel toggle or a pending firmware update can make a working camera appear.
SD card health: Format the card in the camera and use a high-endurance card to avoid dropped.
Know the difference: A dash cam rear camera is not a backup camera; they have separate wiring.
Why Your Dash Cam Rear Camera Not Working: The 30-Second Diagnosis
Before you open the fuse box or order a new camera, run this quick check. In most dual-channel dash cams, the rear camera sends video to the front unit through a cable. When that signal drops, the front screen usually shows a black tile, a “no signal” message, or a grayed-out rear-channel icon.
Start with three observations:
Does the front camera still record normally? If yes, the problem is isolated to the rear channel.
Does the rear camera have a status LED? No LED often means no power is reaching it.
When did the failure start? After a firmware update, a car wash, or a new SD card?
These three answers tell you whether to focus on cables, power, settings, or storage in the sections below.
Inspect the Cable and Connectors Before Anything Else
Check the cable and connectors first when the rear camera fails.
The cable between the front and rear cameras is the most common failure point. It runs through headliners, pillars, and door seals, where it can be pinched or crushed by trim pieces. A rear camera that worked for months and then stopped often has a damaged cable or a loose connector.
How to Test the Rear-Cam Cable Without Buying New Parts
If your dash cam’s front and rear cameras use identical connectors, swap them temporarily. Connect the rear camera to the front port and the front camera to the rear port. If the “rear” image now appears, the original rear camera is fine and the cable is the problem. If the rear channel stays blank, the camera itself may be faulty.
You can also perform a wiggle test while parked: gently bend the cable at the connector ends and along its visible length while watching the screen. A picture that flickers at a specific spot points to a damaged wire inside the cable jacket.
Reseating vs. Replacing: What the Connector Tells You
Unplug both ends of the rear-cam cable and inspect the connector pins under bright light. Bent, corroded, or pushed-in pins mean the connector is damaged. Look for rust or green residue, which suggests moisture got into the connection. If the pins look clean, reseat the connector firmly until it clicks, then test the rear channel again.
If reseating fixes the problem but it returns after a few days, the cable has an intermittent break and should be replaced.
Power and Wiring: The Hidden Cause of Rear-Cam Failures
Rear cameras draw power through the main dash cam unit, so a failing rear channel can be a front-unit power problem in disguise. If your dash cam is plugged into the 12V socket, check that the adapter is firmly seated and the socket is clean. A loose connection can drop voltage enough to make the rear camera shut down while the front camera keeps running.
Hardwire Kits, Fuse Taps, and Voltage Compatibility
Many US drivers hardwire their dash cams to the fuse box for parking mode. If the rear camera stopped working after a hardwire installation, the problem is often the hardwire kit, not the camera. Check that the kit’s output voltage matches the dash cam’s requirement and that the fuse tap is seated correctly.
If you are considering a hardwire setup, review our dash cam hardwire kit guide before buying, since not all kits are compatible with all cameras or vehicles.
Parking-Mode Power, Battery Protection, and When to Stop
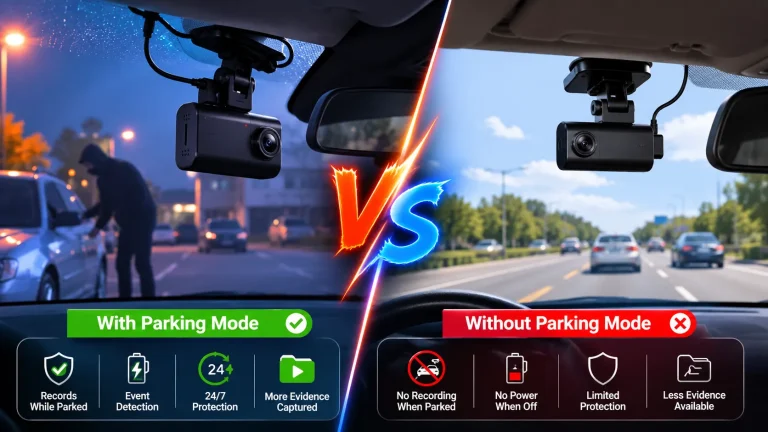
Parking mode is a common trigger for rear-cam failures. Some dash cams shut down the rear channel first when input voltage drops, to protect the vehicle battery. If your rear camera works while driving but not in parking mode, the camera is probably working as designed under low-voltage cutoff.
If the rear camera fails after a parking-mode session, let the system cool down and restart the vehicle. If the rear channel returns, the issue is power management, not hardware failure.
Check Settings, Firmware, and the Mobile App<
Troubleshooting steps include checking settings, firmware, and the mobile app.
/h2>
Sometimes the rear camera is recording fine, but the dash cam is not displaying or saving the rear channel. This is a settings problem, not a hardware problem.
Toggling Rear-Channel Settings and Updating Firmware
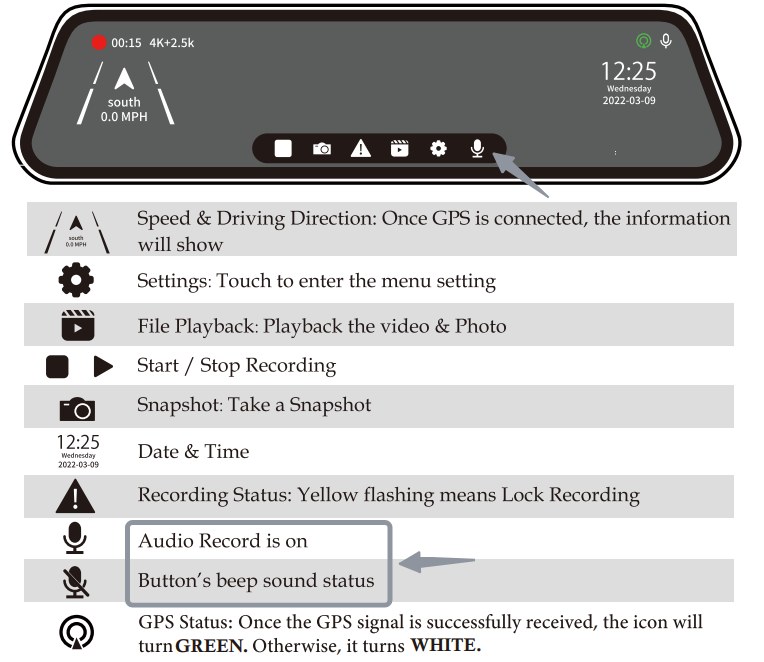
Open the dash cam’s on-screen menu and look for a rear-channel toggle, a “dual recording” mode, or a display mode that cycles between front, rear, and split-screen views. If the rear channel is turned off in the menu, the camera may appear dead when it is actually fine.
Check the manufacturer’s website for firmware updates. A buggy firmware version can cause the rear channel to drop. Follow the brand’s update instructions exactly and format the SD card before updating. For a related reset procedure, see our guide on how to reset a rear view camera.
App Permissions, Cloud Retention, and Account Security
Many modern dash cams pair with a smartphone app over Wi-Fi. If the rear camera shows a black image in the app but records fine on the SD card, the problem is the app’s live-view connection. Restart the app and reconnect to the camera’s Wi-Fi network.
If your dash cam uses cloud storage, check that the subscription is active and that the rear channel is included in your plan. Some brands only upload the front channel on lower-tier plans. Also review the app’s permissions, since a recent phone update can revoke access the app needs.
Storage and Memory Card Issues That Mimic Camera Failure
A failing or incompatible memory card is one of the most underrated causes of rear-cam problems. Dash cams write video constantly, and a card that cannot keep up may drop one channel to save the other.
Corrupted SD Cards and Missing Rear-Channel Files
If the rear camera shows a black screen but the front camera records fine, check whether rear-channel files are actually being saved. Remove the SD card and view the folder structure on a computer. Many dash cams create separate folders for front and rear video. If the rear folder is empty or contains corrupted files, the card is the likely culprit.
Use a high-endurance card rated for continuous recording. Standard cards can fail quickly under the heat and constant writes of dash cam use.
Formatting the Card and Reading the Camera’s LED Cues
Format the card inside the dash cam, not on a computer, using the camera’s built-in format function. This clears corrupted file tables and ensures the card’s format matches what the camera expects. After formatting, test the rear channel again.
Pay attention to the camera’s LED patterns. A blinking red LED during recording usually means the camera is writing to the card. If the LED stops blinking while the rear channel is blank, the card may be too slow or faulty.
Clean the Lens and Inspect Placement, Heat, and Weather Exposure
Not every rear-cam failure is electronic. A dirty lens, a fogged rear windshield, or a camera that has shifted out of position can make the rear channel look broken when it is actually recording fine.
Cleaning the Rear Lens and Rear Windshield Glass
Use a microfiber cloth and a lens-safe cleaner to wipe the rear camera’s lens, then clean the inside of the rear windshield. Grime on defroster lines and tinted windows can make night footage look black or blurry. If the image is dark but the menu works, a dirty lens or windshield is often the reason.
Heat, Moisture, and Adjusting the Field of View
Rear cameras mounted inside the rear window can overheat in direct summer sun, especially without ventilation. If the rear image returns after the cabin cools down, heat is the cause. Consider repositioning the camera slightly or adding a sun shade.
Moisture is another culprit. A camera mounted near a rear window seal can be exposed to condensation or rain. Check for water droplets inside the lens housing. If moisture got in, the camera needs to be dried out or replaced.
Backup Camera vs. Dash Cam Rear Camera: Know the Difference
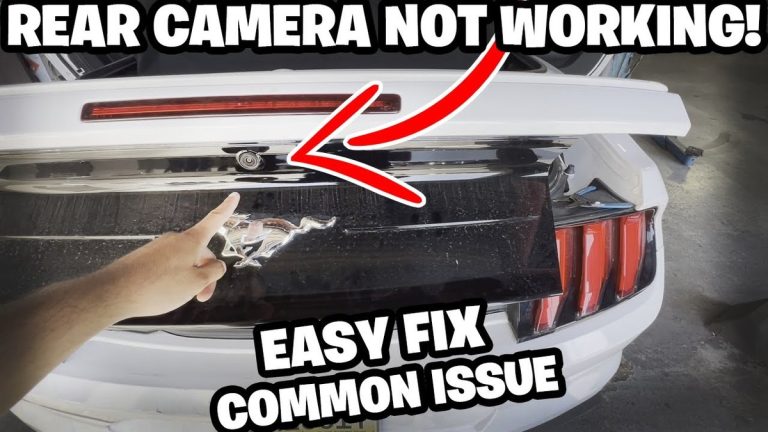
Many drivers confuse a dash cam’s rear camera with a factory backup camera, but they are different systems with different purposes. A backup camera helps you park and displays on the vehicle’s infotainment screen when you shift into reverse. A dash cam rear camera records continuously and stores footage for evidence.
Display Behavior, Wiring, and Calibration Differences
A backup camera is usually wired to the vehicle’s reverse light circuit and may show static guide lines. A dash cam rear camera is wired to the dash cam unit and records video to a memory card. If your factory backup camera works but your dash cam rear camera does not, you are dealing with two separate systems. For a deeper comparison, read our article on whether a rear view camera is the same as a backup camera.
Legal Placement, Privacy, and Audio Recording Considerations
US states have different rules about camera placement and audio recording. A dash cam rear camera mounted on the rear window must not obstruct your view, and some states restrict how much of the windshield or rear window can be covered. Check your state’s vehicle code before mounting any camera.
Dash cams that record audio are subject to state wiretap laws, which vary by state. Be aware of the rules where you drive.
Repair, Replace, or Upgrade: Costs and Compatibility
Once you have identified the cause, decide whether to repair, replace, or upgrade. Your choice depends on the age of the dash cam, the cost of parts, and whether you want new features.
Replacement Cables vs. a New Rear Camera
A replacement cable is usually the cheapest fix. Check the brand’s website or contact support to find the correct cable for your model. Some brands use proprietary connectors, so a generic cable may not work. If the rear camera itself is faulty, a replacement rear camera is often available as a spare part, but it must match your dash cam’s brand and model.
If the dash cam is several years old and replacement parts are hard to find, upgrading may be more cost-effective than repairing.
Brand Compatibility and Choosing the Right Upgrade
When choosing a new dash cam, consider whether you want a dual-channel system with a wired rear camera or a three-channel system that adds an interior camera. Rideshare drivers may find a three-channel system worth the extra cost.
Before buying, verify that the rear camera cable is long enough for your vehicle. SUVs and trucks need longer cables than sedans. Also check the mount type: some rear cameras use adhesive tape, while others use a screw mount.
Final Verdict
Best for: Most drivers with a dash cam rear camera not working will find the fix in the cable, the power source, or the settings menu — not in the camera itself.
Think twice if: The rear camera has physical damage, water inside the lens, or the dash cam is several years old and replacement parts are hard to find.
Next step: Start with the 30-second diagnosis, test the cable by swapping cameras, and check the SD card before spending money on a replacement.
Frequently Asked Questions
A black rear-cam screen usually points to a loose or damaged cable, a power issue, or a rear-channel setting that was turned off. Start by reseating both ends of the cable, then check the dash cam’s menu for a rear-channel toggle, and finally test the camera with a known-good cable.
Yes. A corrupted or slow memory card can cause the dash cam to drop the rear channel to keep writing the front channel. Format the card inside the dash cam and use a high-endurance card rated for continuous recording.
Swap the front and rear cameras if they use identical connectors. If the rear channel still fails with the other camera connected, the cable is likely damaged. You can also perform a wiggle test by gently bending the cable along its length while watching the screen for flicker.
No. A backup camera is designed for parking and displays on the vehicle’s infotainment screen when you shift into reverse. A dash cam rear camera records continuously and stores footage on a memory card for evidence. They are separate systems with different wiring and purposes.
Often yes, but the replacement rear camera must be compatible with your dash cam’s brand and model. Some brands sell rear cameras as spare parts, while others require a full system replacement. Check the manufacturer’s website or contact support before buying.
Hardwiring involves the vehicle’s fuse box and electrical system, so it carries risk if done incorrectly. Use the correct fuse tap, verify voltage compatibility, and keep wires away from airbags and moving parts. If you are not confident, a professional installer is the safer option.
Hi, I'm Ethan Carter, and I've spent over a decade testing automotive electronics, dash cams, and interior accessories. I created TopBestCar.com to help car owners cut through marketing hype and find gear that actually performs for their exact make and model — backed by hands-on testing, spec comparisons, and real owner feedback.