How Does a Dual Camera System for a Car Work? Key Features Explained

A dual camera system uses two lenses to give you a wider view around your car. One camera usually faces the road ahead, while the second faces the rear or the cabin, depending on the system.
The cameras record separate video feeds at the same time, and the main unit saves, timestamps, and may display both views together. This setup can help you review events in front of or behind your car, while some models also provide parking or driver assistance features.
I’ll explain how the cameras work, how the system combines their views, which controls you can use, and what limits you should consider before choosing one.
Key Takeaways
- Two cameras capture different areas around your car.
- The main unit stores and manages both video feeds.
- Features and image quality vary by model and conditions.
Core Components And Camera Placement
I rely on three main parts: a forward-facing camera, a rear-facing camera, and an image processing unit. Their lens position, wiring, storage method, and recording settings determine how clearly the system captures events.
Forward-Facing Camera
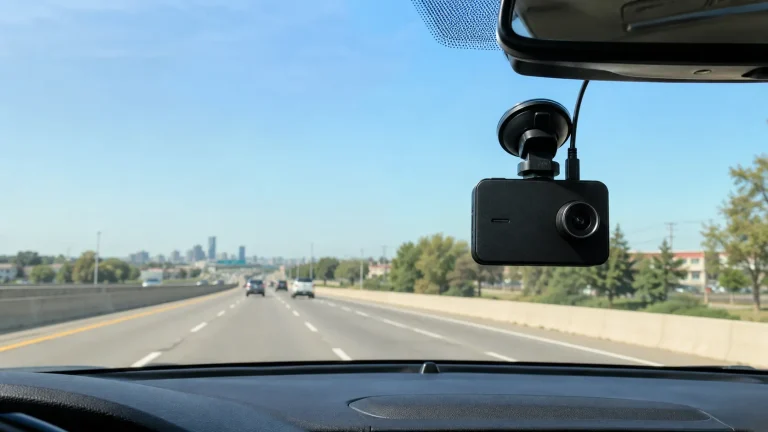
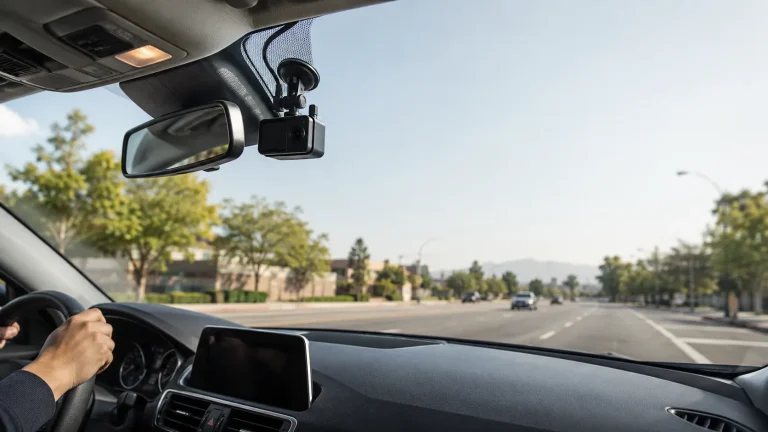
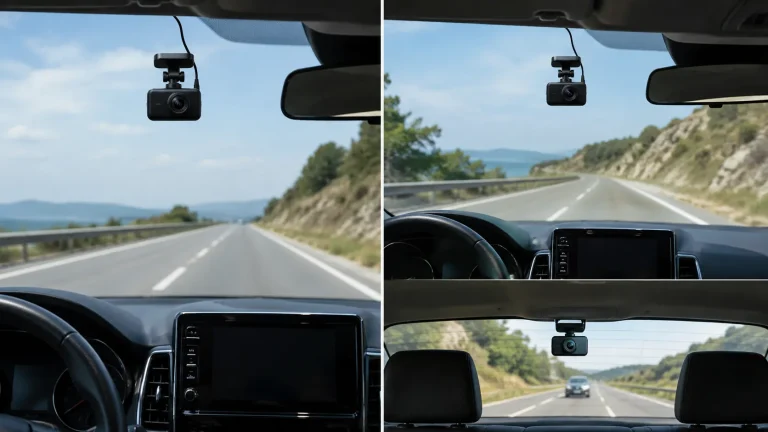
I mount the forward-facing camera high on the windshield, usually behind the rear-view mirror. This position gives the lens a clear view while keeping the unit out of my direct line of sight. I keep the lens inside the windshield’s cleaned area and aim it so the horizon sits near the middle of the frame.
The camera uses a wide-angle lens and an image sensor to record the road, traffic signals, lane markings, and nearby vehicles. A camera with a 120° to 170° viewing angle can cover a broad area, but a very wide lens may make objects look smaller.
I connect the camera to the vehicle’s power supply. Many models record continuously, while others use impact detection to protect clips when the system senses a collision.
Rear-Facing Camera
I place the rear-facing camera near the top center of the rear windshield. This location provides a clear view behind the vehicle and reduces blind areas caused by the trunk or rear seats. I keep the lens away from window tint lines, defroster wires, dirt, and moisture.
A cable usually links the rear camera to the front unit. The system sends video through this connection while the front camera records its own view. Some newer systems use wireless communication, but a wired connection often provides more stable data transfer.
The rear camera helps record rear-end collisions, vehicles approaching from behind, and activity during reversing. I adjust its angle to show the road rather than mostly the vehicle’s interior or the sky.
Image Processing Unit
The image processing unit controls how the system captures, compresses, saves, and displays video. In many dual-camera systems, this unit sits inside the front camera. It receives separate video streams from both lenses and keeps their timestamps aligned.
The processor improves footage with features such as wide dynamic range (WDR), exposure control, noise reduction, and automatic white balance. WDR helps retain detail in scenes that contain both bright headlights and dark areas. Processing quality affects how clearly I can read signs or identify vehicles.
The unit saves recordings to a memory card in short files, often lasting one to five minutes. When the card fills, loop recording replaces the oldest unlocked files. A G-sensor can mark footage as protected when it detects sudden movement, braking, or impact.
How The System Captures And Combines Views
I use synchronized cameras, a central processor, and software to turn separate video feeds into one usable view. The system can record each camera feed separately or combine them into a wider display for safer parking and driving.
Video Signal Transmission
Each camera uses an image sensor to capture light and convert it into digital video. In a typical setup, one camera faces forward while another faces the rear, sides, or vehicle interior. The cameras send their feeds to a central control unit through wired connections or, in some models, wireless links.
A wired connection usually provides a more stable signal and steady power. The control unit synchronizes the feeds, adds time and location data when GPS is available, and compresses the video using formats such as H.264 or H.265. It then sends the data to the display and saves it to a memory card in separate or combined files.
Image Stitching And Display Output
When the system creates a 360-degree or bird’s-eye view, software combines overlapping parts of the camera images. It corrects lens distortion, adjusts brightness, and aligns fixed reference points so nearby views appear to meet smoothly. The system cannot create details that the cameras did not capture.
Some dual-camera systems do not stitch images. Instead, they show the front and rear feeds in separate panels or switch between them. I can usually select a layout, such as a full-screen rear view, split-screen display, or overhead parking view, depending on the system’s features.
Real-Time Perspective Adjustment
The processor updates the display as the vehicle moves. Steering input, gear selection, speed, and signals from parking sensors can tell the system which camera view to emphasize. Selecting reverse, for example, can automatically show the rear camera with parking guidelines.
The software may adjust the viewpoint to keep the vehicle centered or change the angle as I turn the steering wheel. These changes happen quickly, but the display can still show delays or blind areas caused by low light, dirt, rain, blocked lenses, or objects outside the cameras’ viewing angles.
Driver Assistance Functions
I use two cameras to compare the same scene from slightly different positions. This creates depth information that can support parking guidance, blind-spot monitoring, and cross-traffic alerts, although performance depends on camera placement, calibration, lighting, and weather.
Parking Guidance
I use the cameras to estimate the distance between the car and nearby objects, such as walls, posts, and other vehicles. The system combines this depth data with steering angle and vehicle movement to show the driver a camera view, distance markers, or warning lines on the display.
A dual-camera setup can detect changes in depth more accurately than a single camera when both lenses see the same object clearly. The system may also create a wider view by combining images from multiple cameras around the vehicle. It does not replace the driver’s direct checks because small objects, dark areas, dirt, rain, and snow can reduce detection accuracy.
Blind-Spot Monitoring
I use side-facing cameras to watch areas that mirrors may not fully show. The system compares images over time and estimates whether a vehicle is approaching, beside the car, or moving out of the blind spot.
When the software detects a nearby vehicle, it can display a warning in the side mirror, instrument panel, or infotainment screen. Some systems also provide an audible alert or steering assistance, but the exact response varies by vehicle. The cameras must remain clean and properly aligned, and the driver should check mirrors and look over the shoulder before changing lanes.
Cross-Traffic Alerts
I use cameras mounted near the front, rear, or sides of the vehicle to watch for moving traffic when the driver backs out or enters a road with limited visibility. Stereo depth helps the system estimate an object’s distance and movement, while image analysis identifies vehicles, cyclists, and sometimes pedestrians.
The system can warn the driver with sounds, screen messages, or visual symbols. Some vehicles can apply the brakes if a collision appears likely. Parked cars, buildings, poor lighting, rain, and blocked camera views can limit detection, so the driver must continue checking the area directly.
Display Modes And User Controls
I can view the camera feeds separately, together, or as a simulated overhead image. The system can also switch views automatically when I select reverse gear, use a turn signal, or activate a parking aid.
Split-Screen Viewing
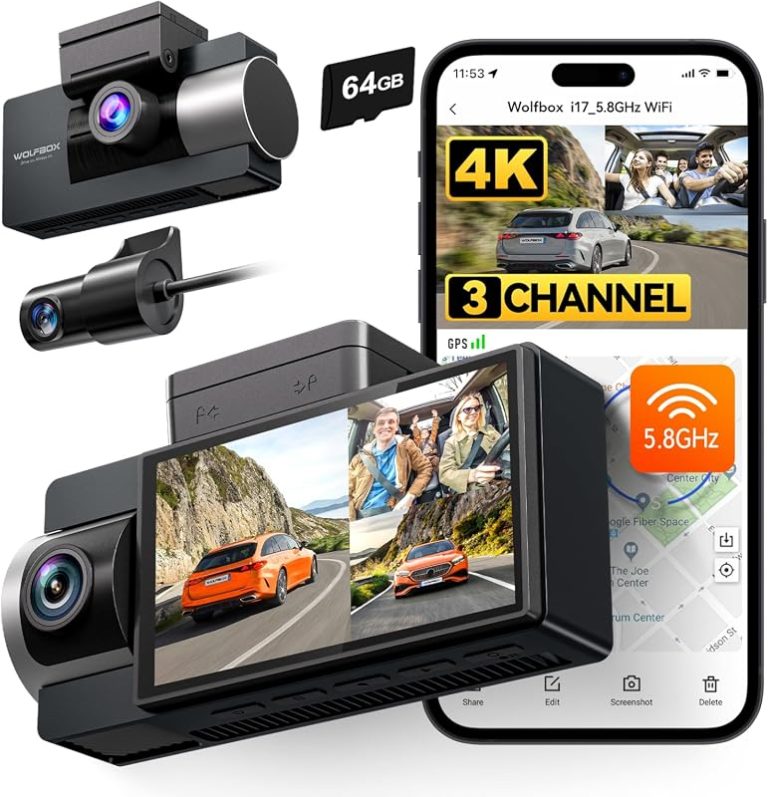
Split-screen mode shows two camera feeds on one display. In a typical front-and-rear system, I can see the road ahead on one side and the area behind the car on the other. Some systems instead show the front view beside a cabin or side-camera view.
The display may use equal panels or give one feed a larger area. I can often tap a panel to enlarge it, switch camera positions, or change the layout through an on-screen menu. The available controls depend on the vehicle and camera system.
Each lens records through its own image sensor and wide-angle lens. The display combines the live feeds, but the recordings may save as separate files. I should check the system settings before relying on a particular layout or recording format.
Top-Down Surround View
A top-down view uses images from several wide-angle cameras mounted around the vehicle. Common positions include the front grille, rear hatch, and both side mirrors. Software corrects the curved images and joins them into a view that appears to look down from above.
I can use this mode to judge the car’s position between parking lines and detect nearby obstacles. It does not create a true aerial image. Objects may look stretched near the seams, and areas outside the cameras’ coverage can remain hidden.
The system needs careful calibration to align the camera feeds. Dirt, snow, poor lighting, or a blocked lens can reduce accuracy. I should check the direct camera views when an object appears close or the overhead image looks unclear.
Automatic Camera Activation
The vehicle can trigger a camera view when I select reverse gear. A control module receives the gear signal and sends the rear feed to the display, often with parking guide lines. Some systems also activate a front or side view at low speeds.
Turn-signal integration can show the camera on the side of the vehicle toward which I am turning. Other systems use proximity sensors or parking-assist controls to open a view when they detect a nearby object.
I can usually change activation rules, guide-line settings, display duration, and camera priority in the vehicle menu. Automatic switching may pause audio or replace another screen, so I should learn how to return to the navigation or main display manually.
Performance Limits And Maintenance
I get the clearest recordings when both cameras have clean lenses, stable power, and a clear view. Rain, fog, glare, heat, and warning messages can reduce image quality or stop recording.
Weather And Visibility Challenges
Rain and road spray can blur the front lens. Water droplets may also create bright spots around headlights and streetlights. I can reduce this problem by checking that the windshield is clean and by placing the camera inside the wiper-cleared area.
Fog, snow, and ice can block the camera’s view. I should remove ice before driving and avoid wiping a frozen lens with force. At night, headlights and low sun can cause glare, especially when the lens or windshield has dirt or oily film.
High heat can affect the camera, battery, memory card, and adhesive mount. I should park in shade when possible and remove the camera if the manufacturer warns against leaving it in extreme temperatures. A rear camera may also lose clarity if its lens sits near exhaust heat or road grime.
Lens Cleaning And Calibration
I clean both lenses with a soft, dry microfiber cloth. If needed, I lightly dampen the cloth with a cleaner approved for camera lenses. I avoid spraying liquid directly onto the camera because it can enter the housing.
I check the camera angle after installing it, replacing the windshield, or moving the mount. The front lens should show enough road while keeping the horizon near the middle of the frame. I aim the rear lens through the center of the back window when possible.
Some systems use lane or collision warnings that depend on correct alignment. I follow the manufacturer’s calibration steps after changing the camera position. I also test both views during daylight and at night to confirm that the image remains steady and useful.
System Fault Warnings
A warning may indicate a full or damaged memory card, weak power, excessive heat, or a disconnected rear-camera cable. I first check the power connection and confirm that the camera turns on during engine startup.
I use a compatible, high-endurance memory card and format it in the camera at the recommended intervals. I save important clips before formatting because formatting deletes stored files. If recording stops repeatedly, I test a new card rather than relying on repeated resets.
I inspect the rear cable for loose plugs, sharp bends, or damage near the hatch hinge. If the camera shows a black screen, distorted image, or repeated error after these checks, I stop using the affected feature and contact the manufacturer or a qualified installer.
Frequently asked questions
What does a dual camera car system record?
I use “dual camera” to describe a system with two lenses. One camera usually records the road ahead, while the second records the rear of the car or the cabin, depending on the model.
How does the system save video?
Both cameras send video to the main unit. The system usually saves synchronized clips to a memory card. When the card fills, loop recording can replace older, unlocked files.
Does a second camera improve accident evidence?
Yes. A front view can show traffic signals, road conditions, and impacts ahead. A rear or cabin view may provide additional details during a collision, dispute, or theft attempt.
Can I use the second camera to monitor the cabin?
I can if the model includes an interior-facing camera. This option may help taxi, rideshare, or commercial drivers monitor activity inside the vehicle. I should check local privacy rules before recording passengers.
Does every dual camera system include parking mode?
No. Parking mode depends on the model and its power connection. Some systems need a hardwire kit to keep recording when the engine is off.
What features should I check before buying one?
- Front and rear or interior recording
- Clear night footage
- A reliable memory card
- A built-in G-sensor to protect impact clips
- Parking mode, if I need it
- GPS or Wi-Fi, if I want location data or phone access
Conclusion
I see a dual camera system as a practical way to record more of a drive than a front-facing camera can capture. Depending on the model, one camera records the road ahead while the second records the rear of the car or the cabin.
The two cameras send video to a shared recorder, which saves the footage to a memory card. Many systems record both views at the same time, so I can review what happened in front of and behind the vehicle during an incident.
When I choose a system, I consider:
- Camera placement: front and rear coverage or front and cabin coverage
- Video quality: clear footage in daylight and low light
- Storage: loop recording and memory card support
- Power: connection to the car or a separate battery
- Extra features: GPS, parking mode, and impact detection
A dual camera system can provide useful evidence after a crash, parking incident, or dispute. I still need to install the cameras correctly, keep the lens clean, and check local privacy laws before recording inside the vehicle.